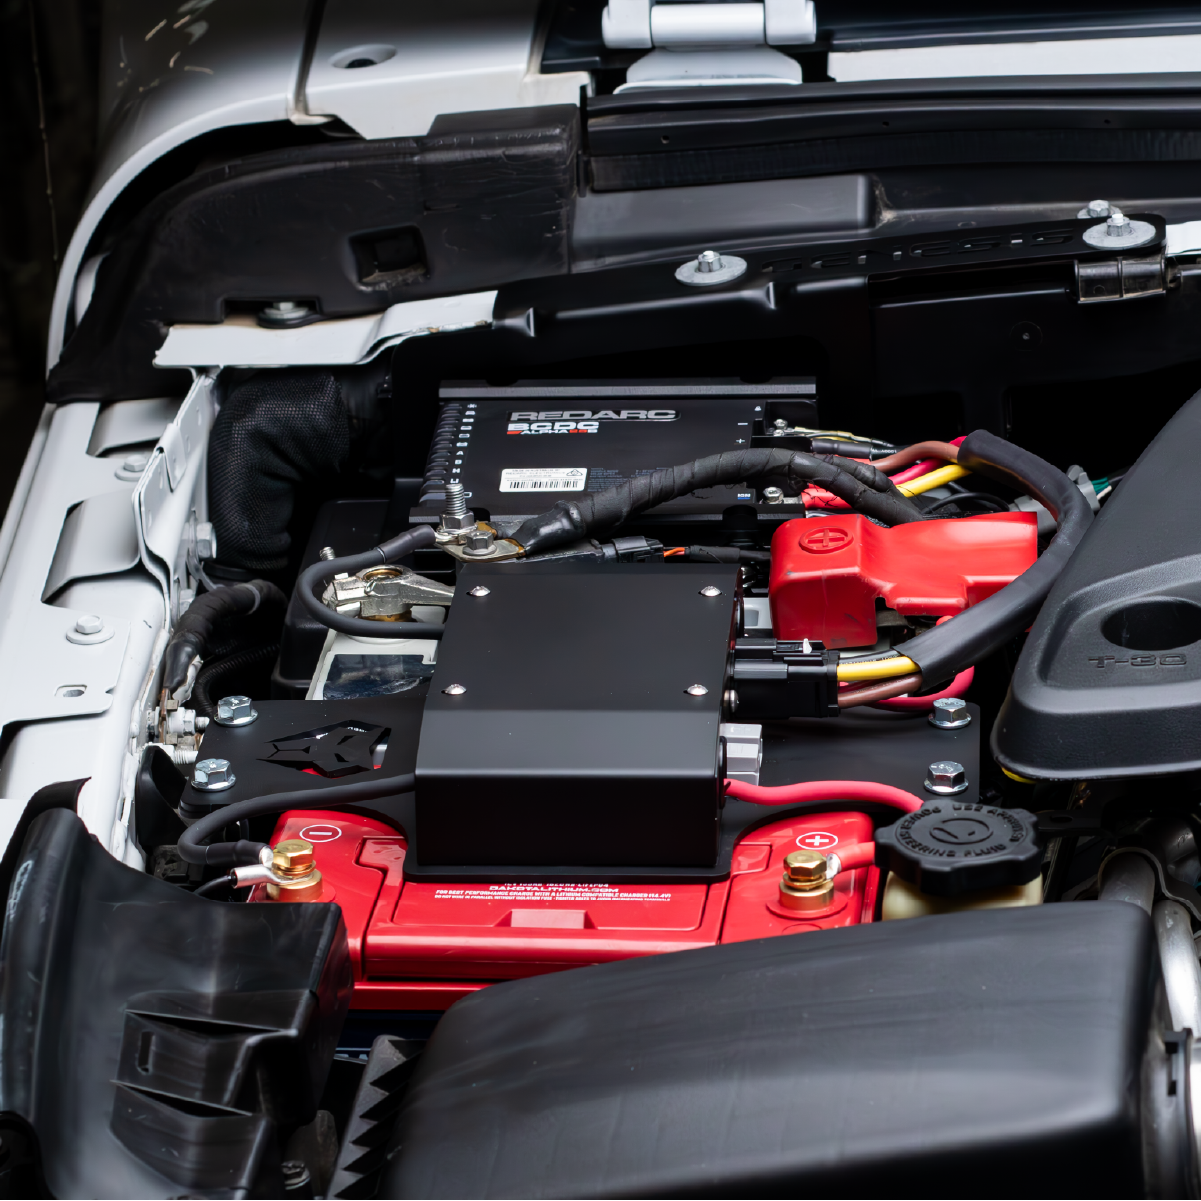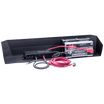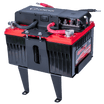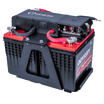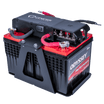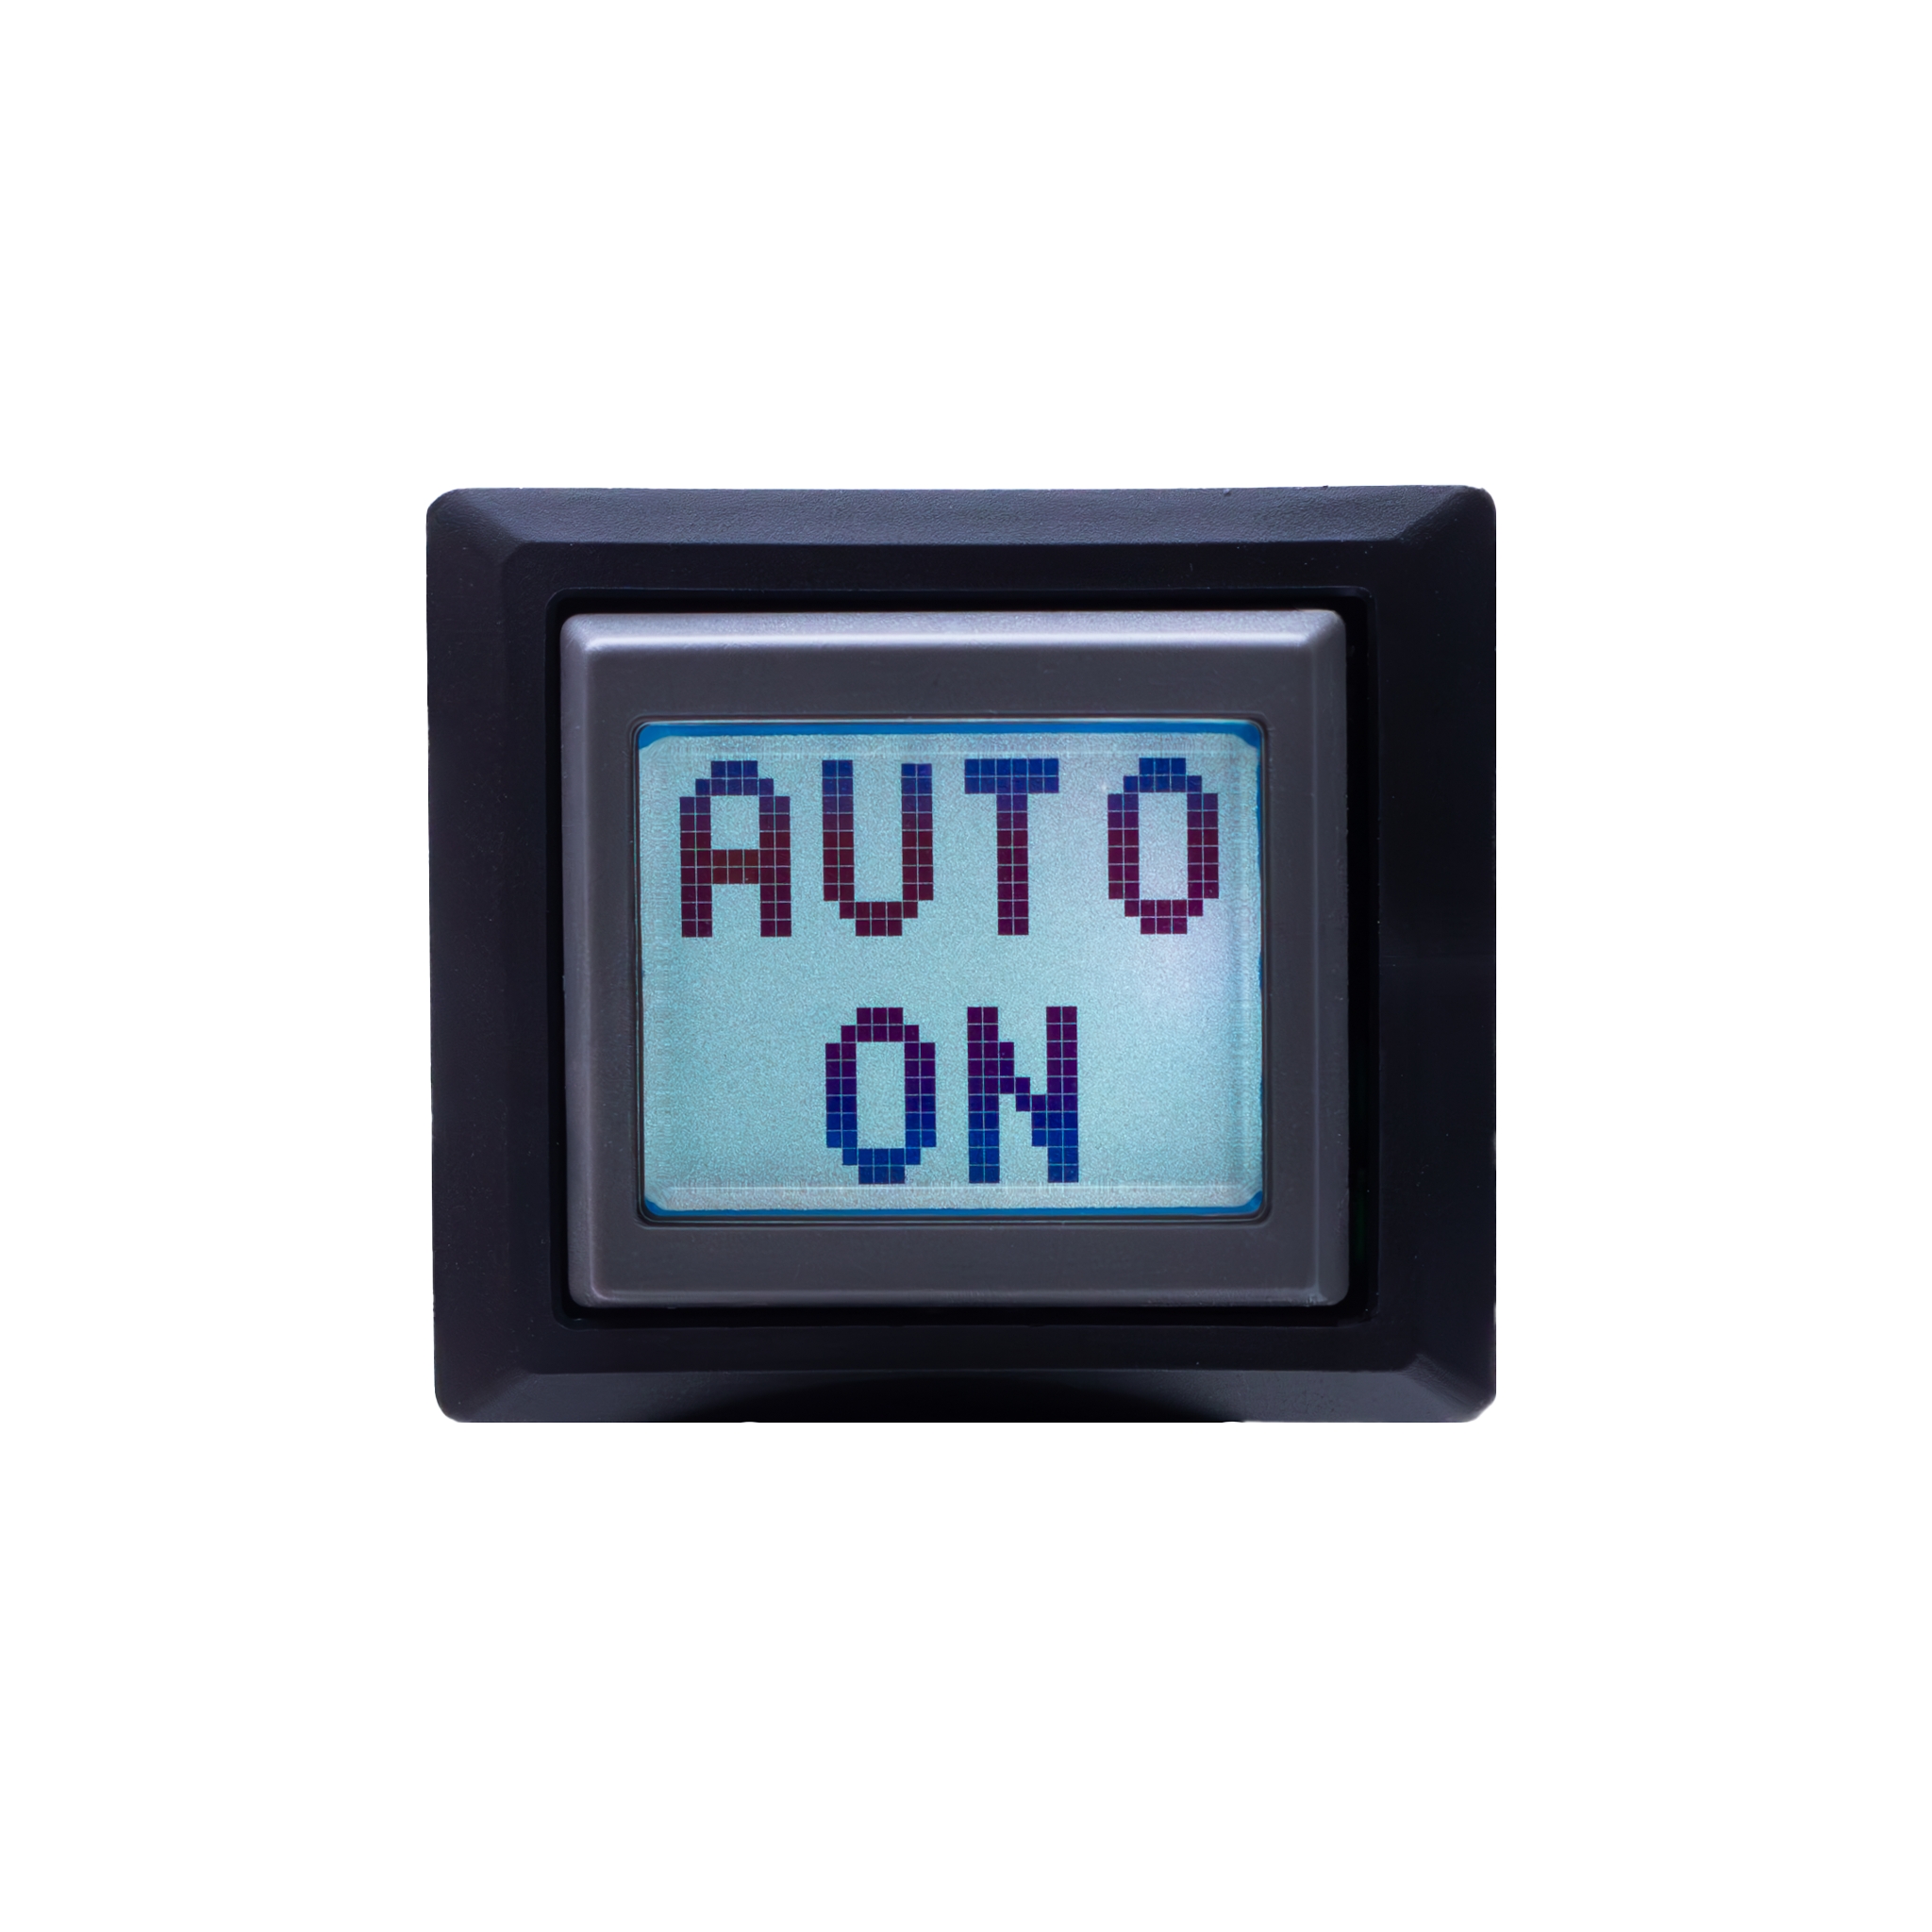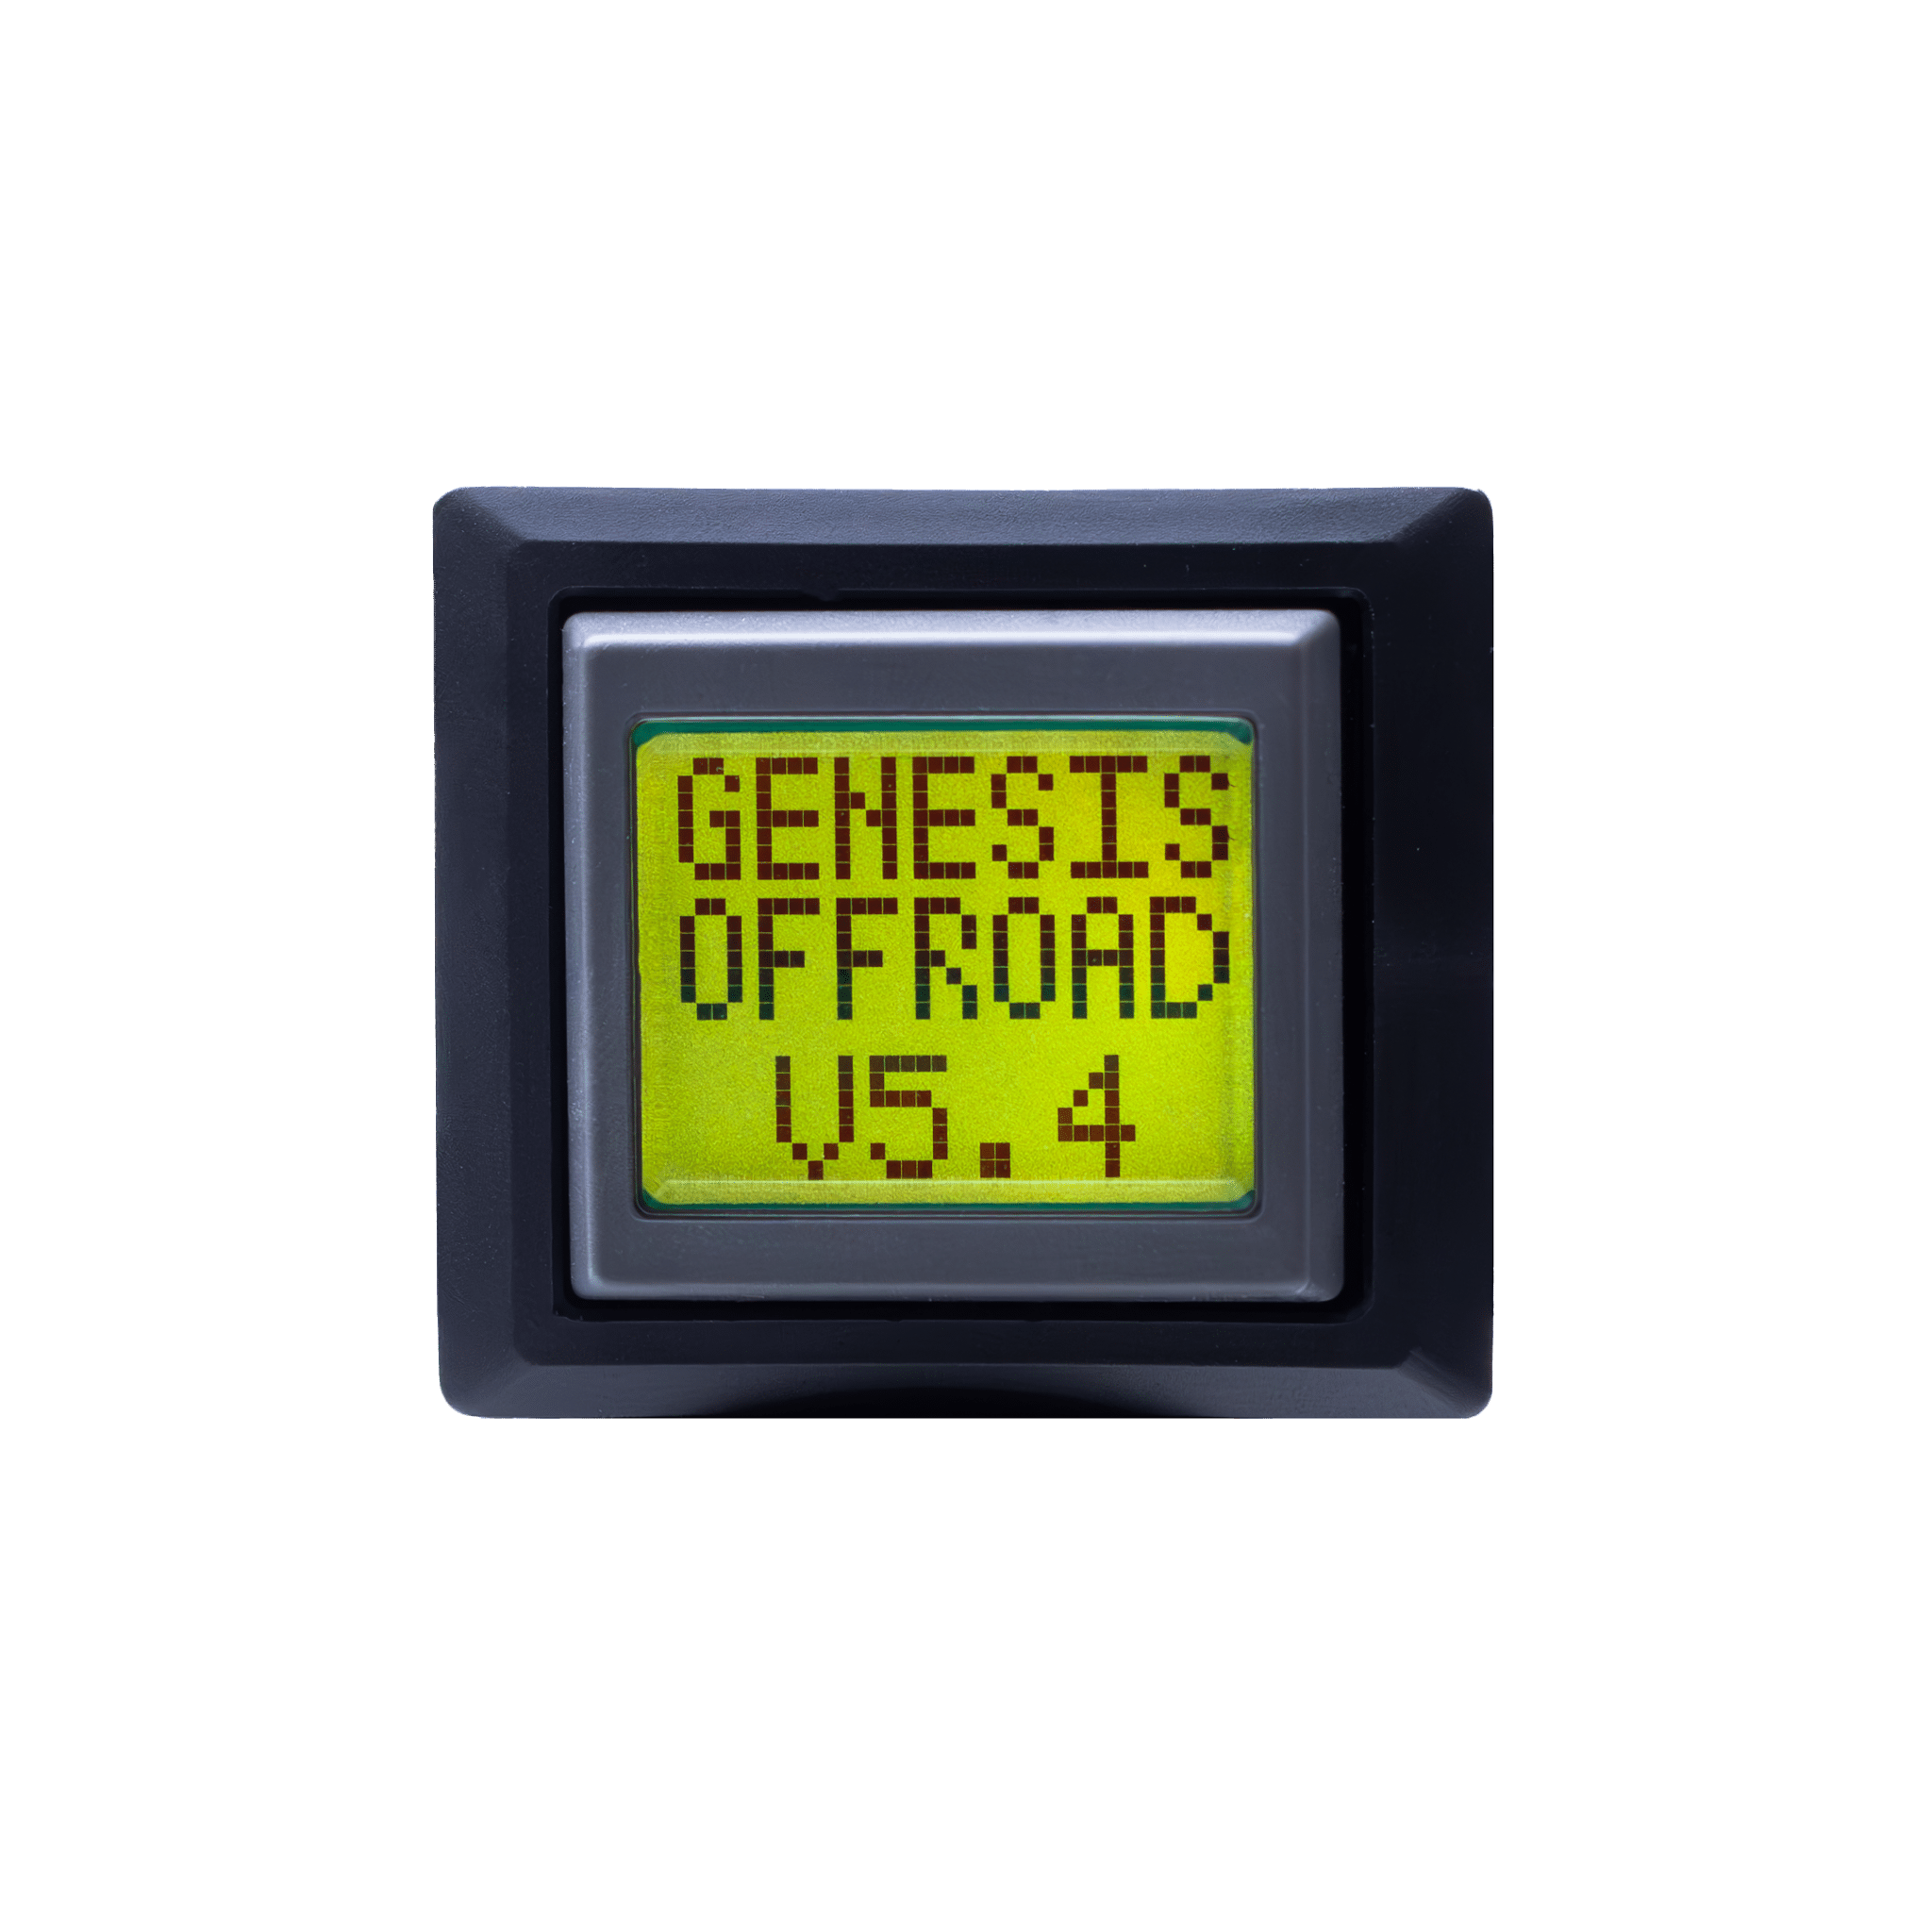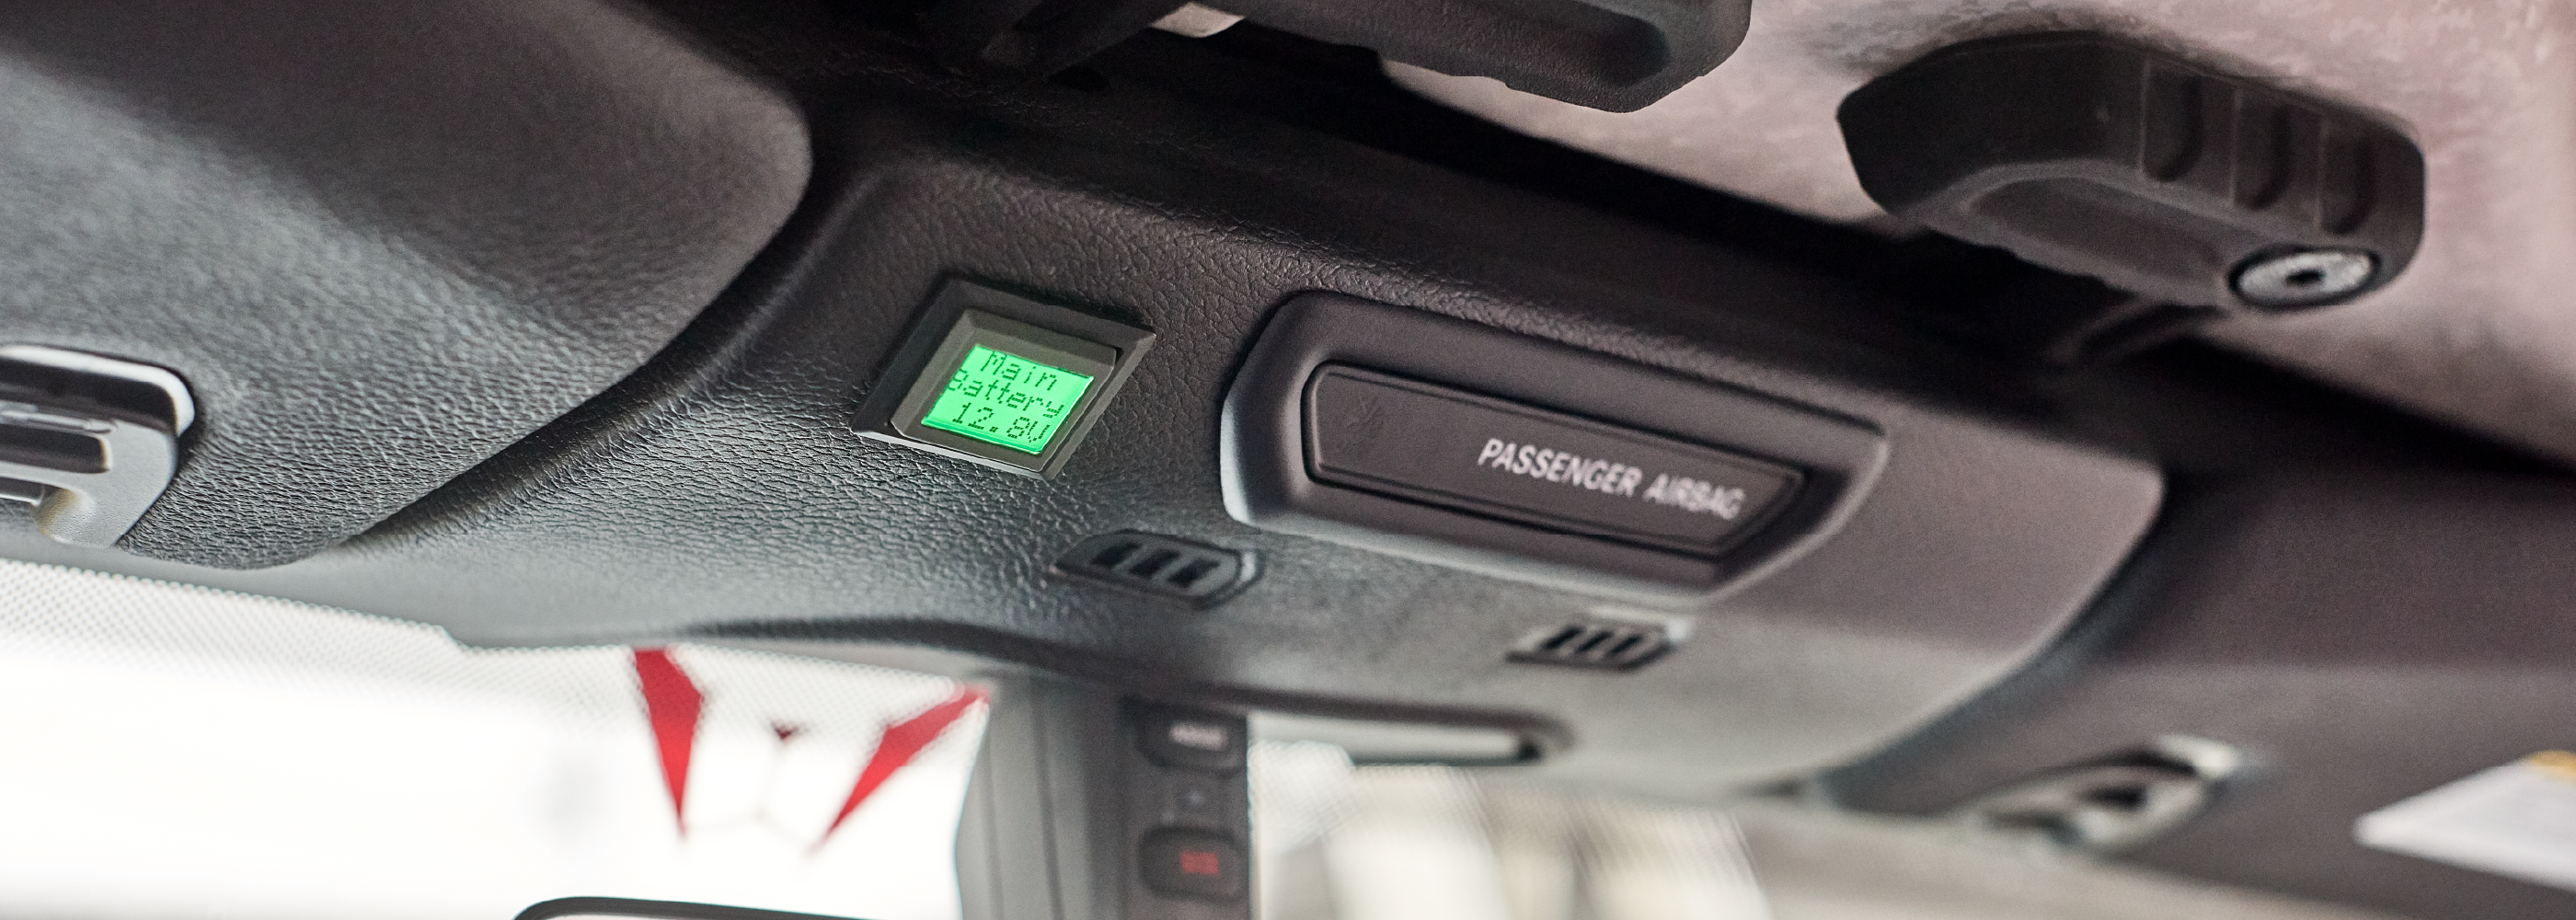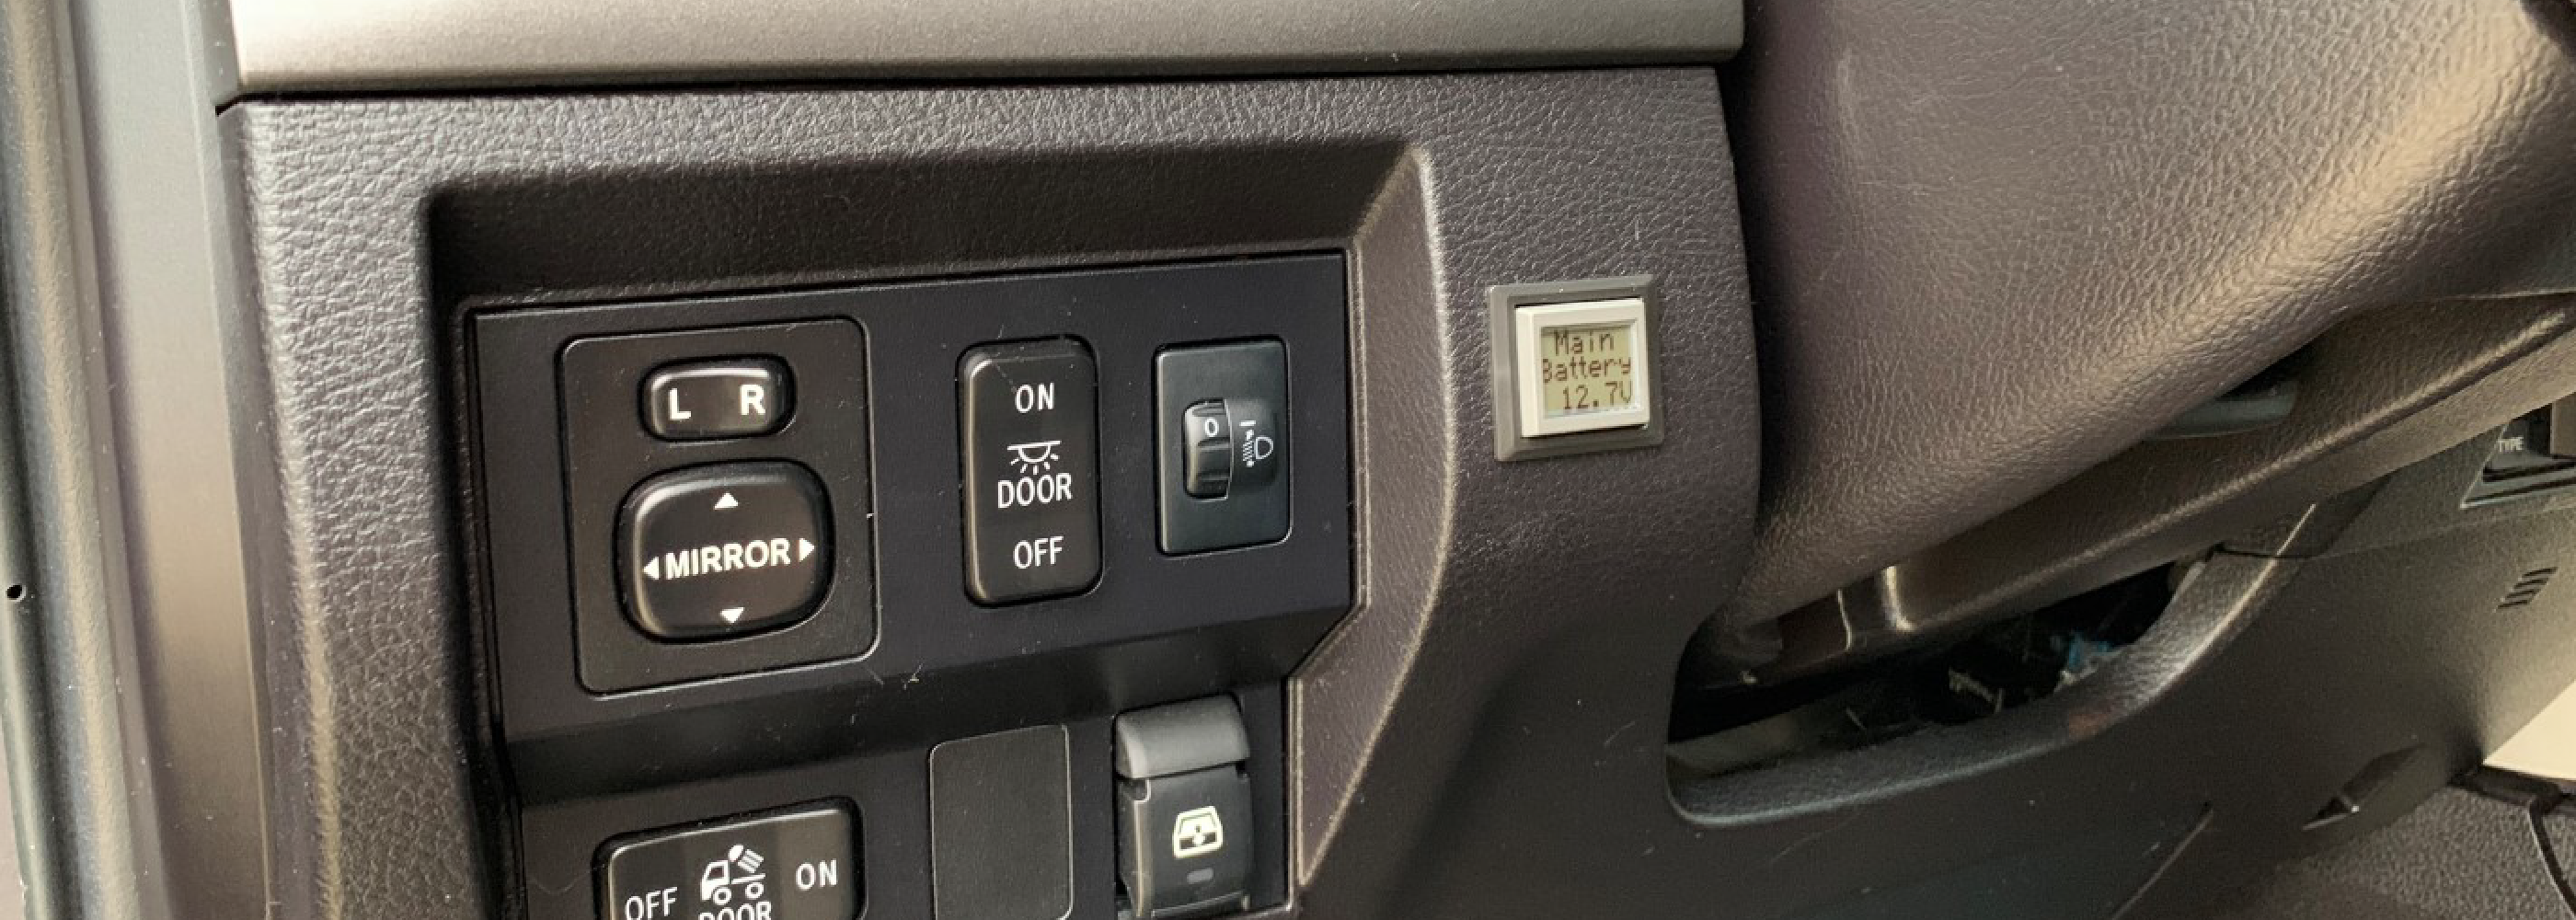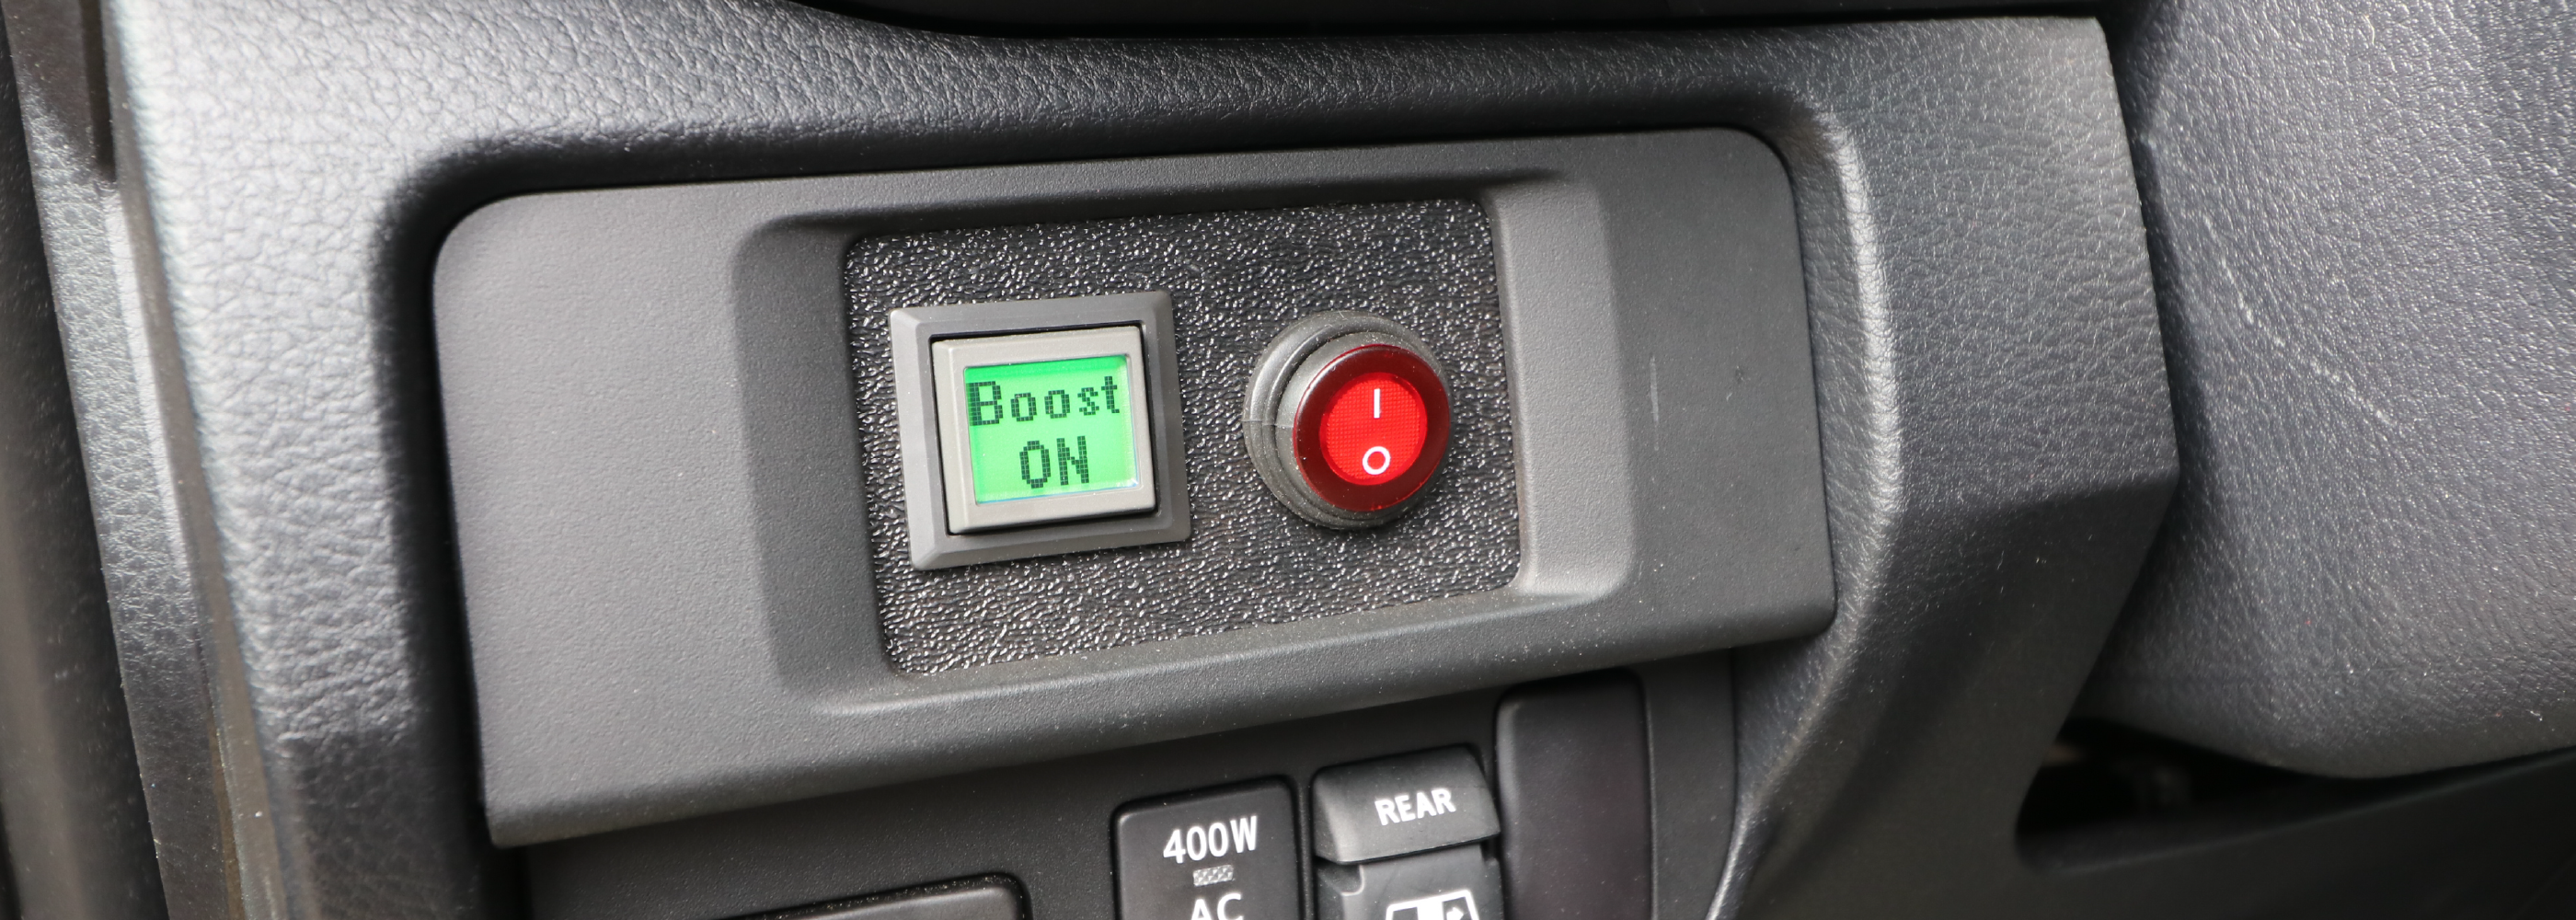
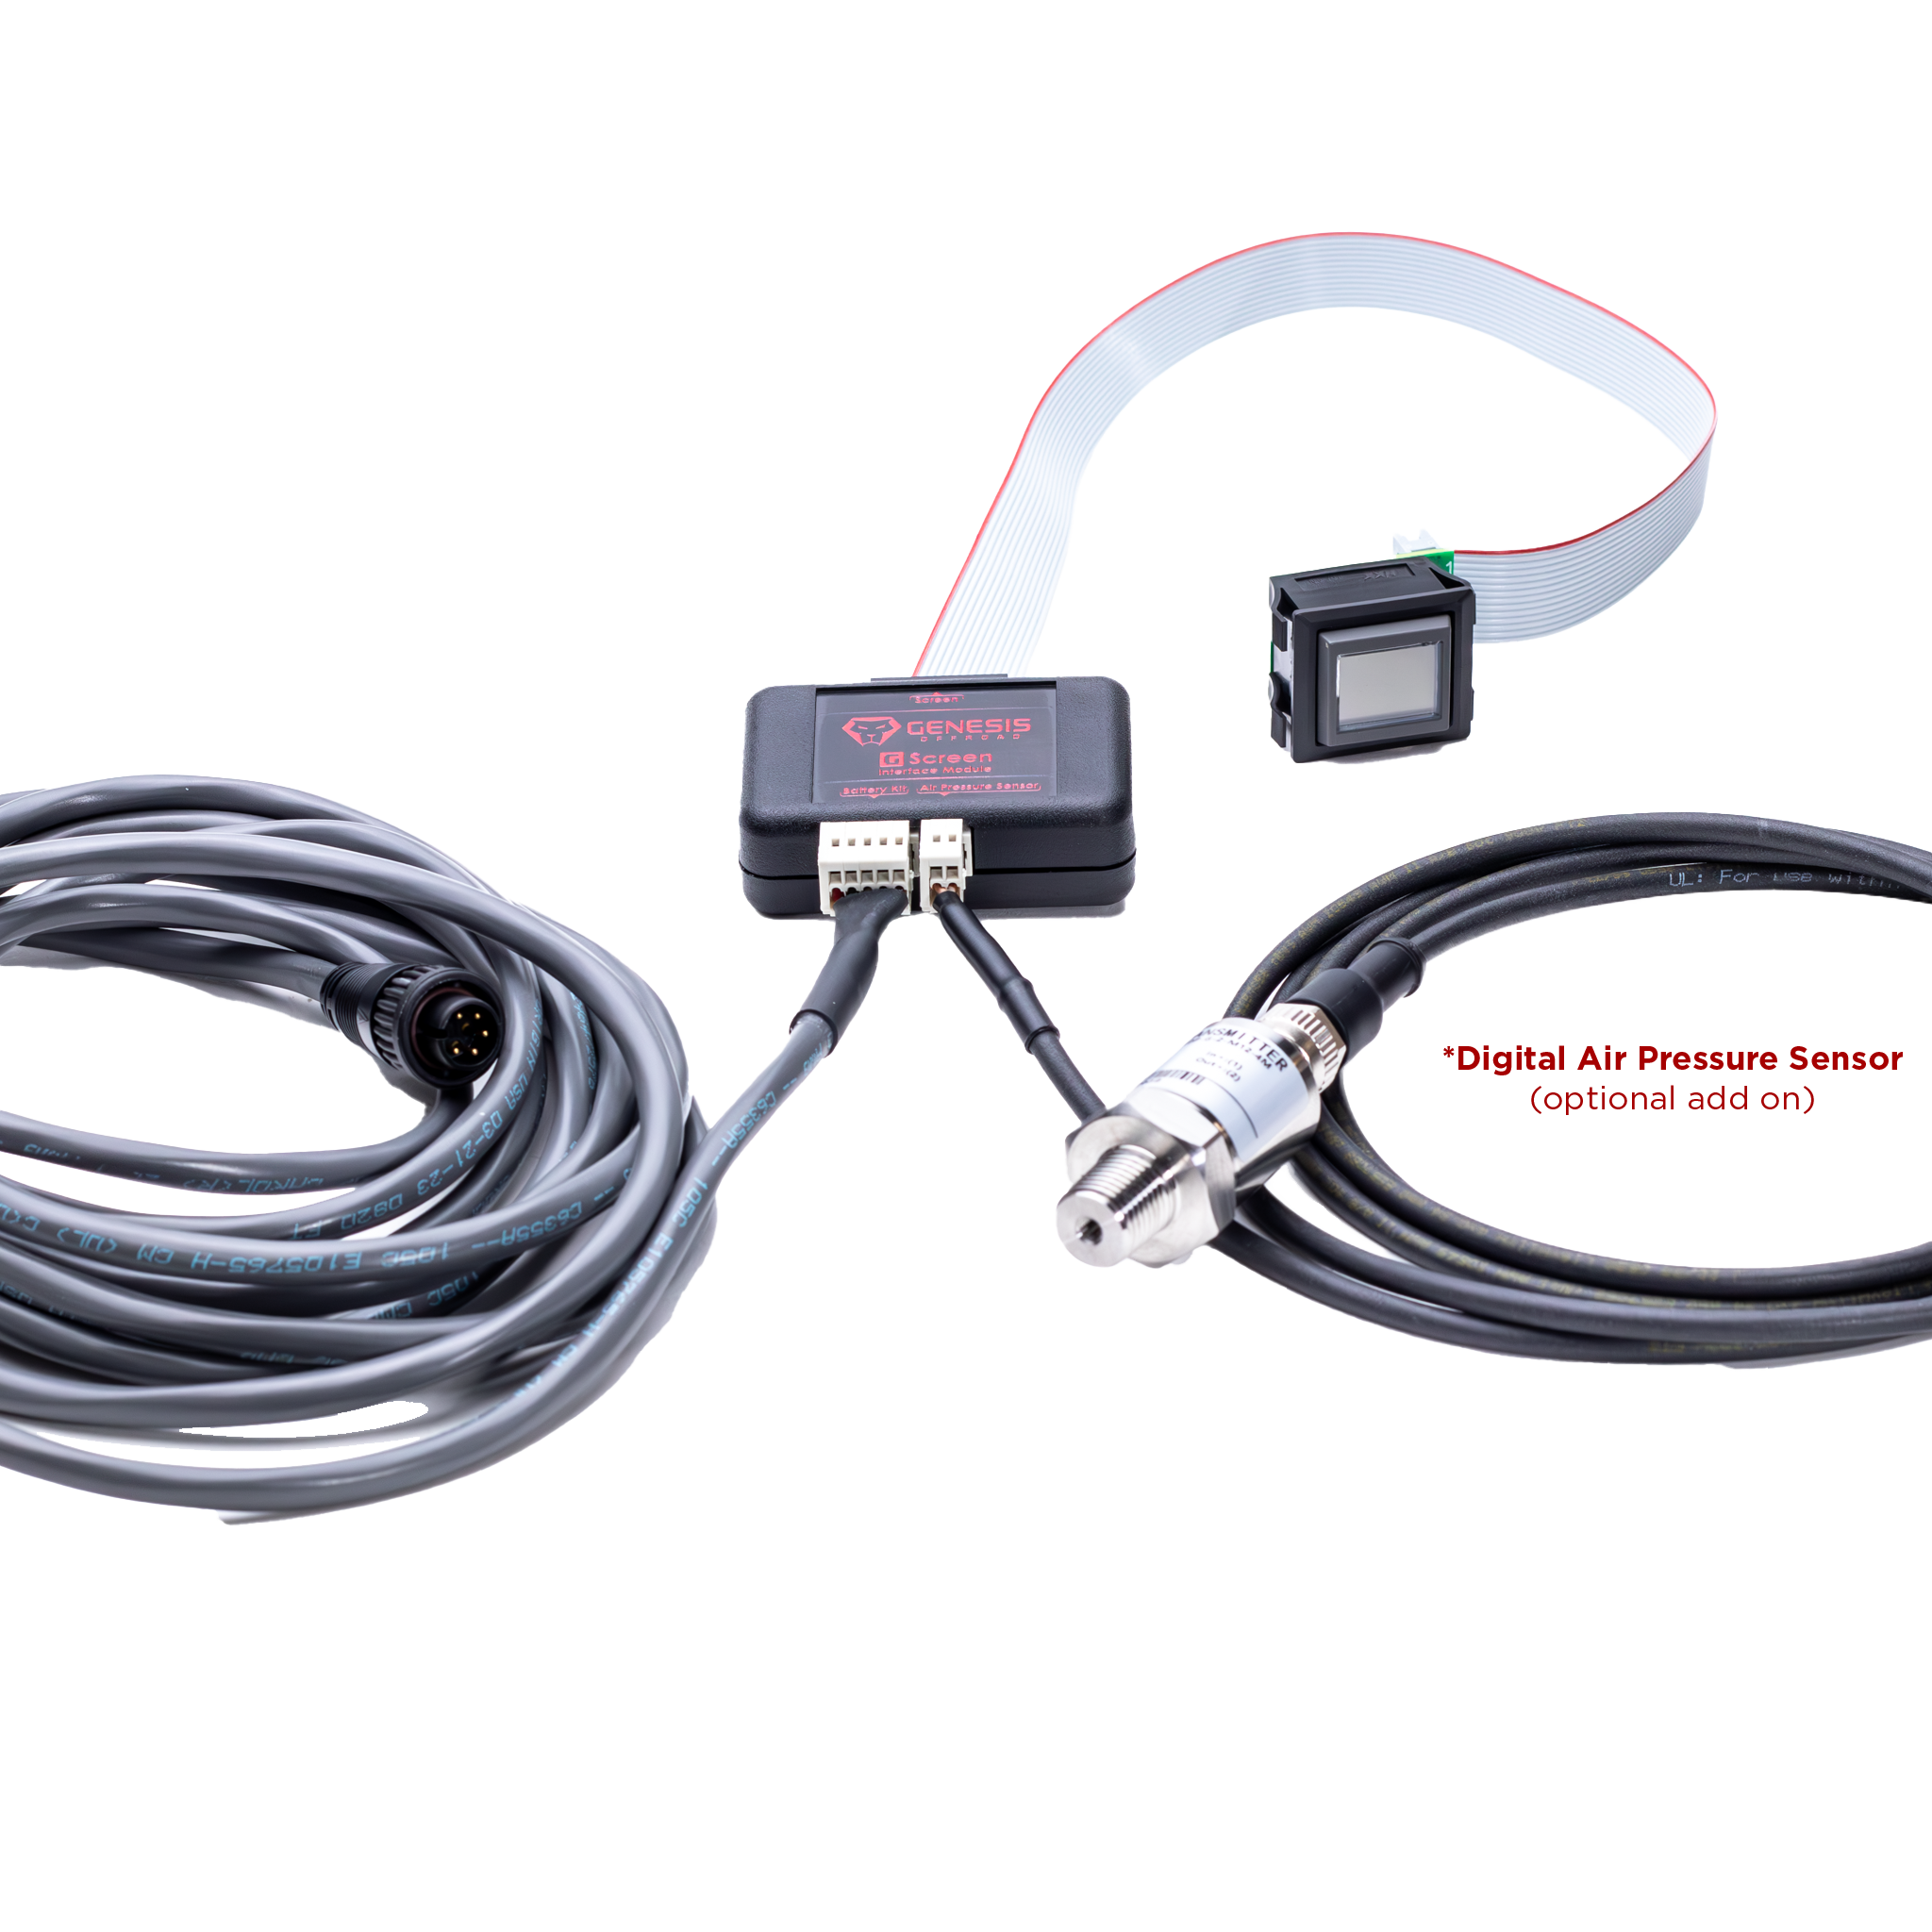
G Screen for Gen 3 Dual Battery Systems

MONITORING WITHIN REACH
Product Overview
Installation Guide
Easy To Install
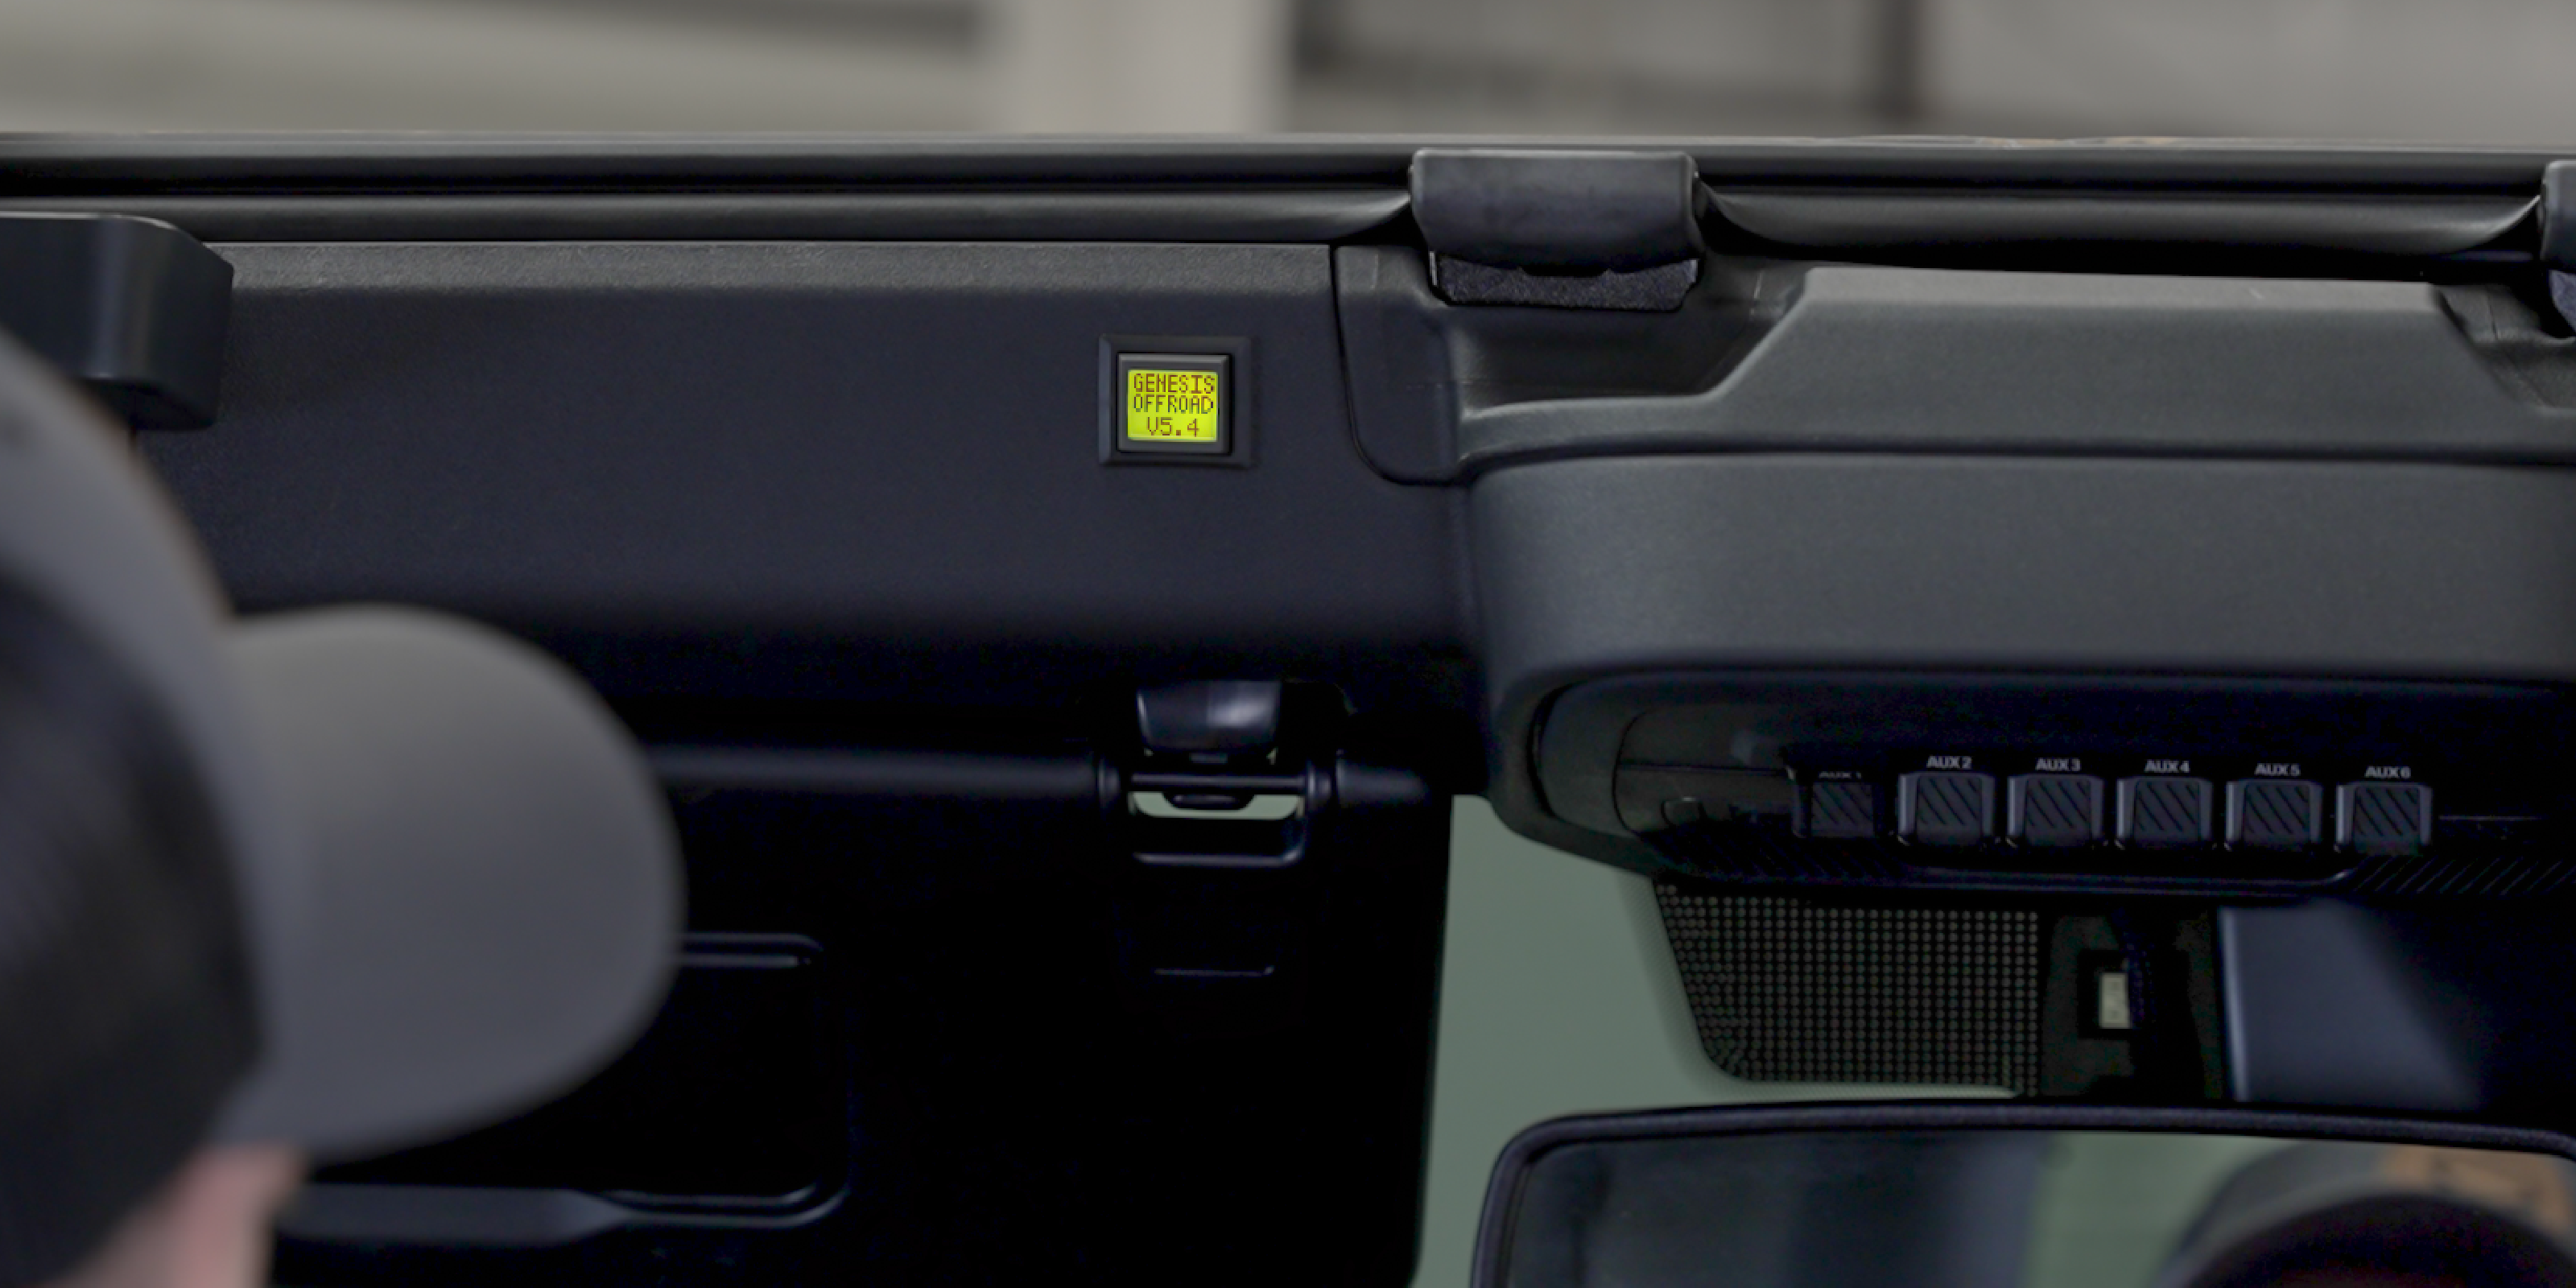
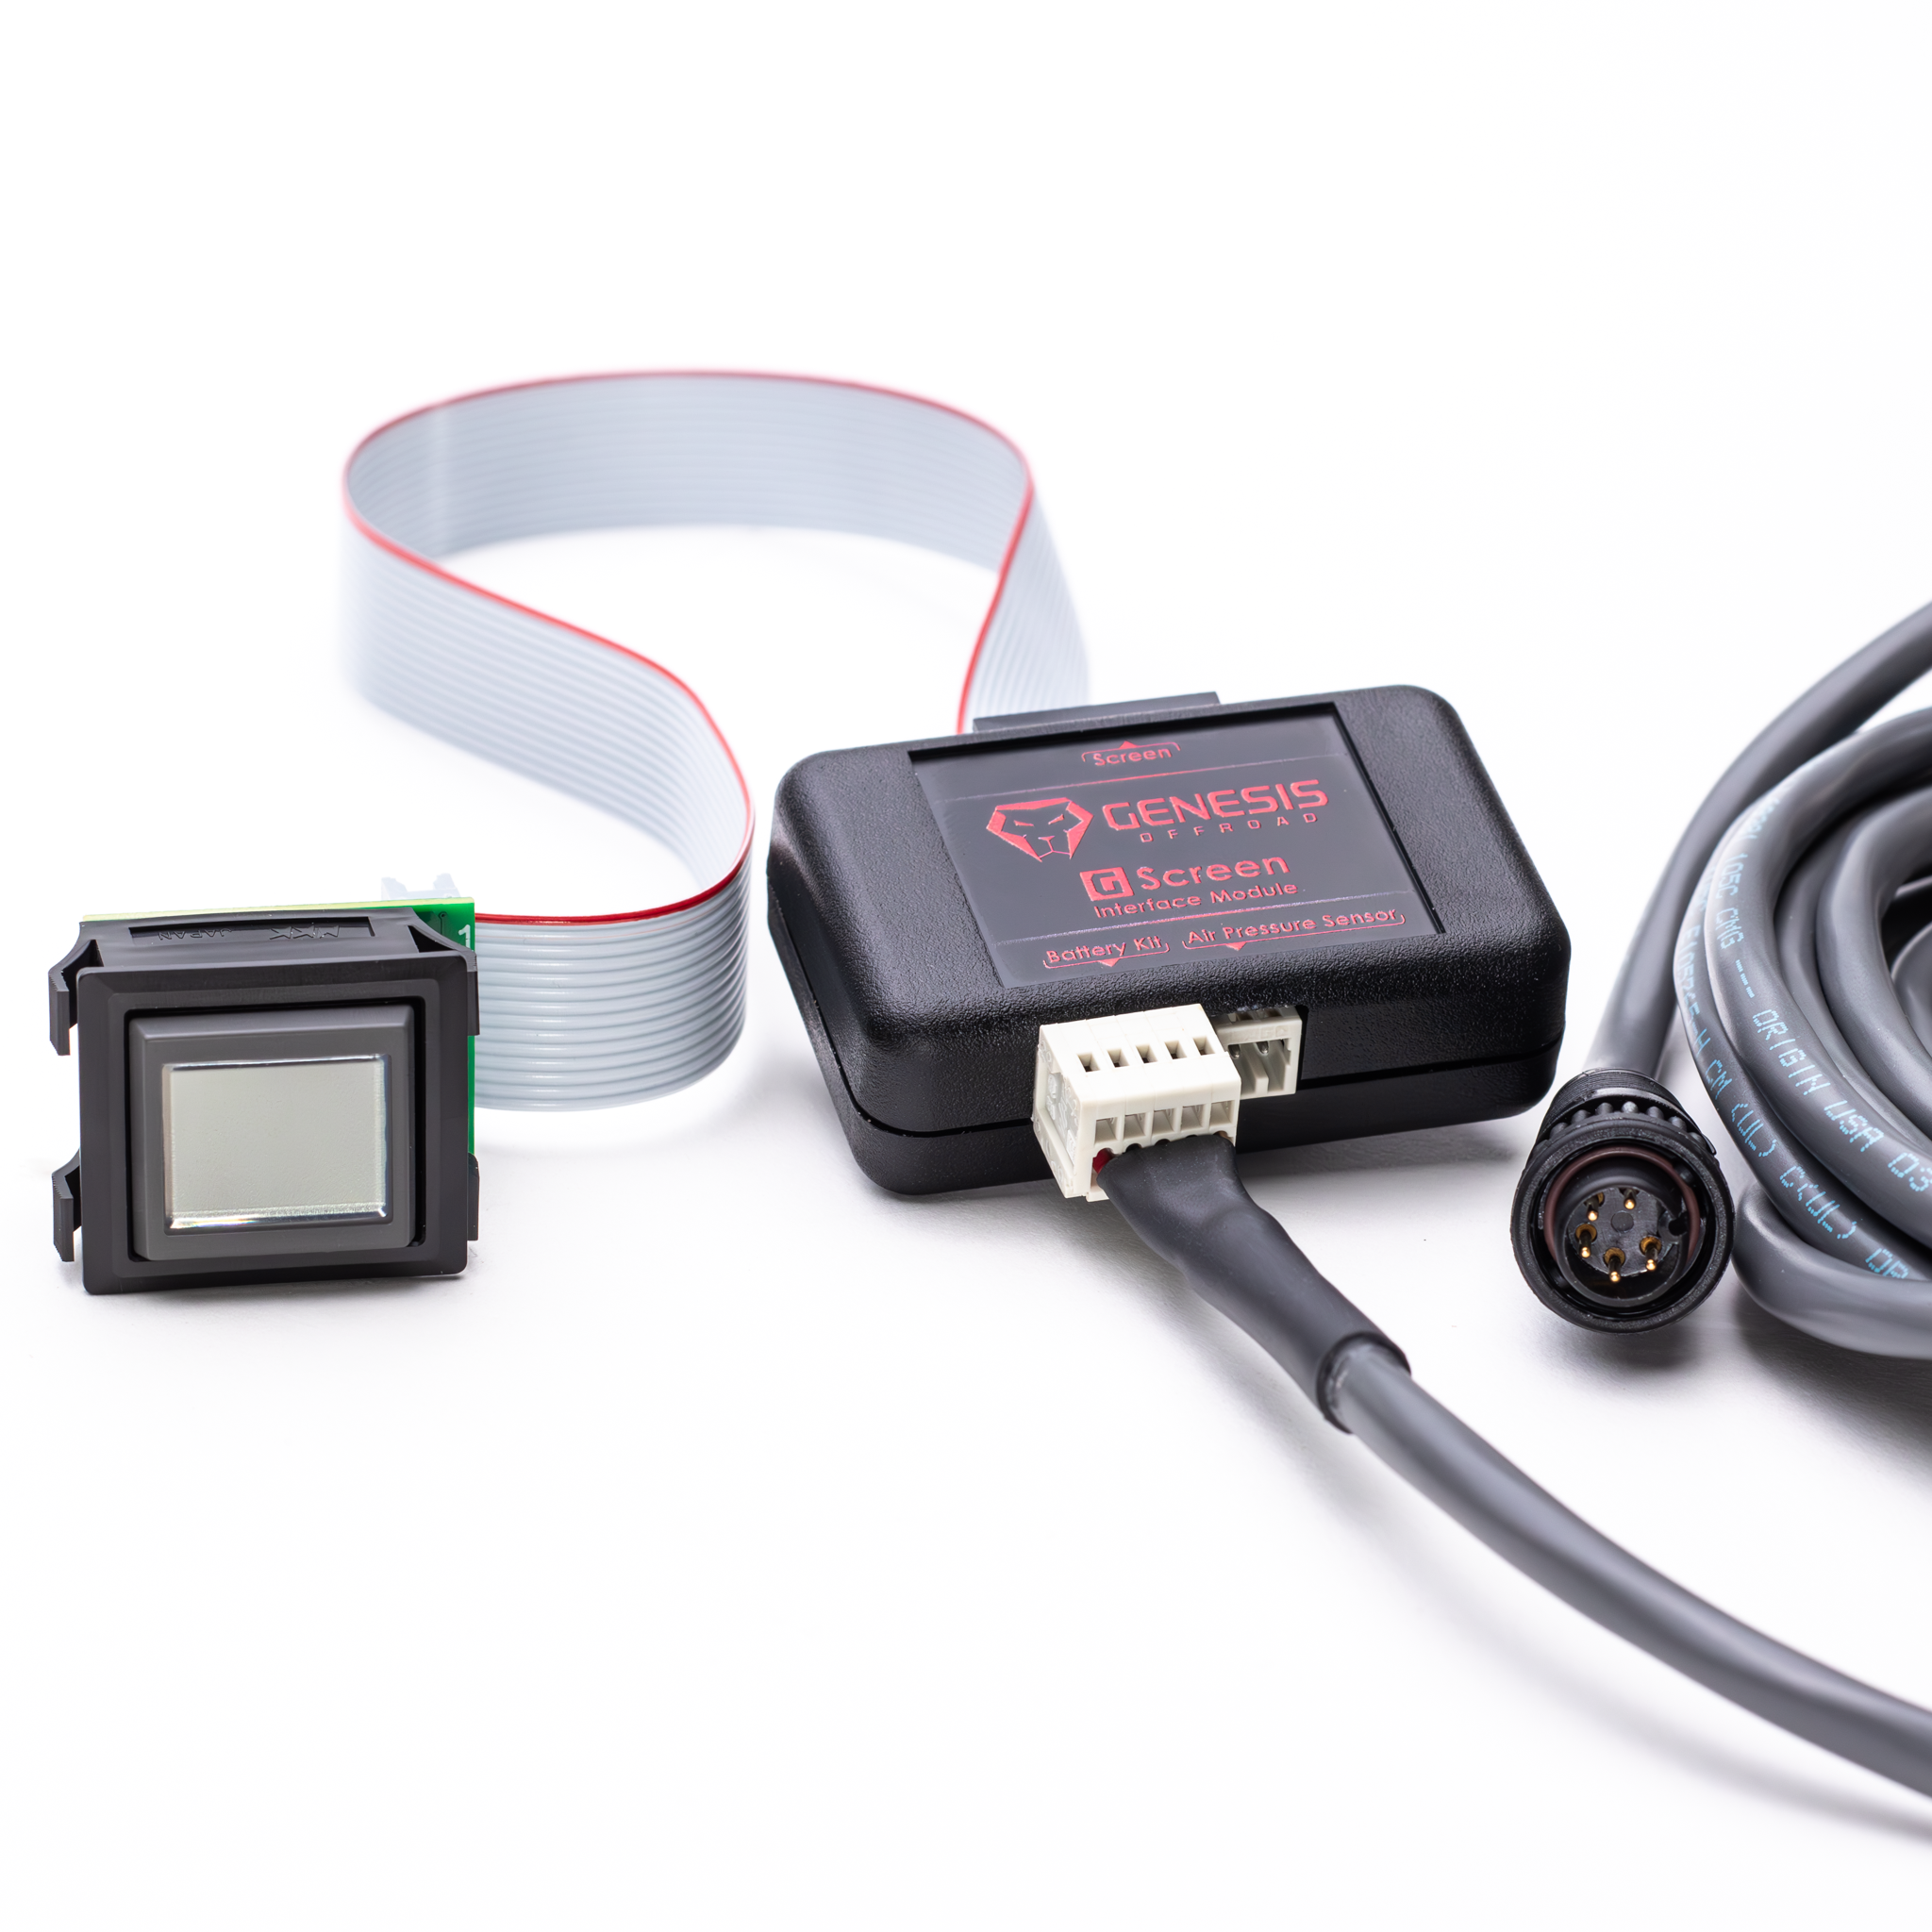
Use the sticker provided as a guide to cut the hole for the G-Screen.
After the hole is cut, feed the ribbon cable through the hole then snap the G-Screen into place.
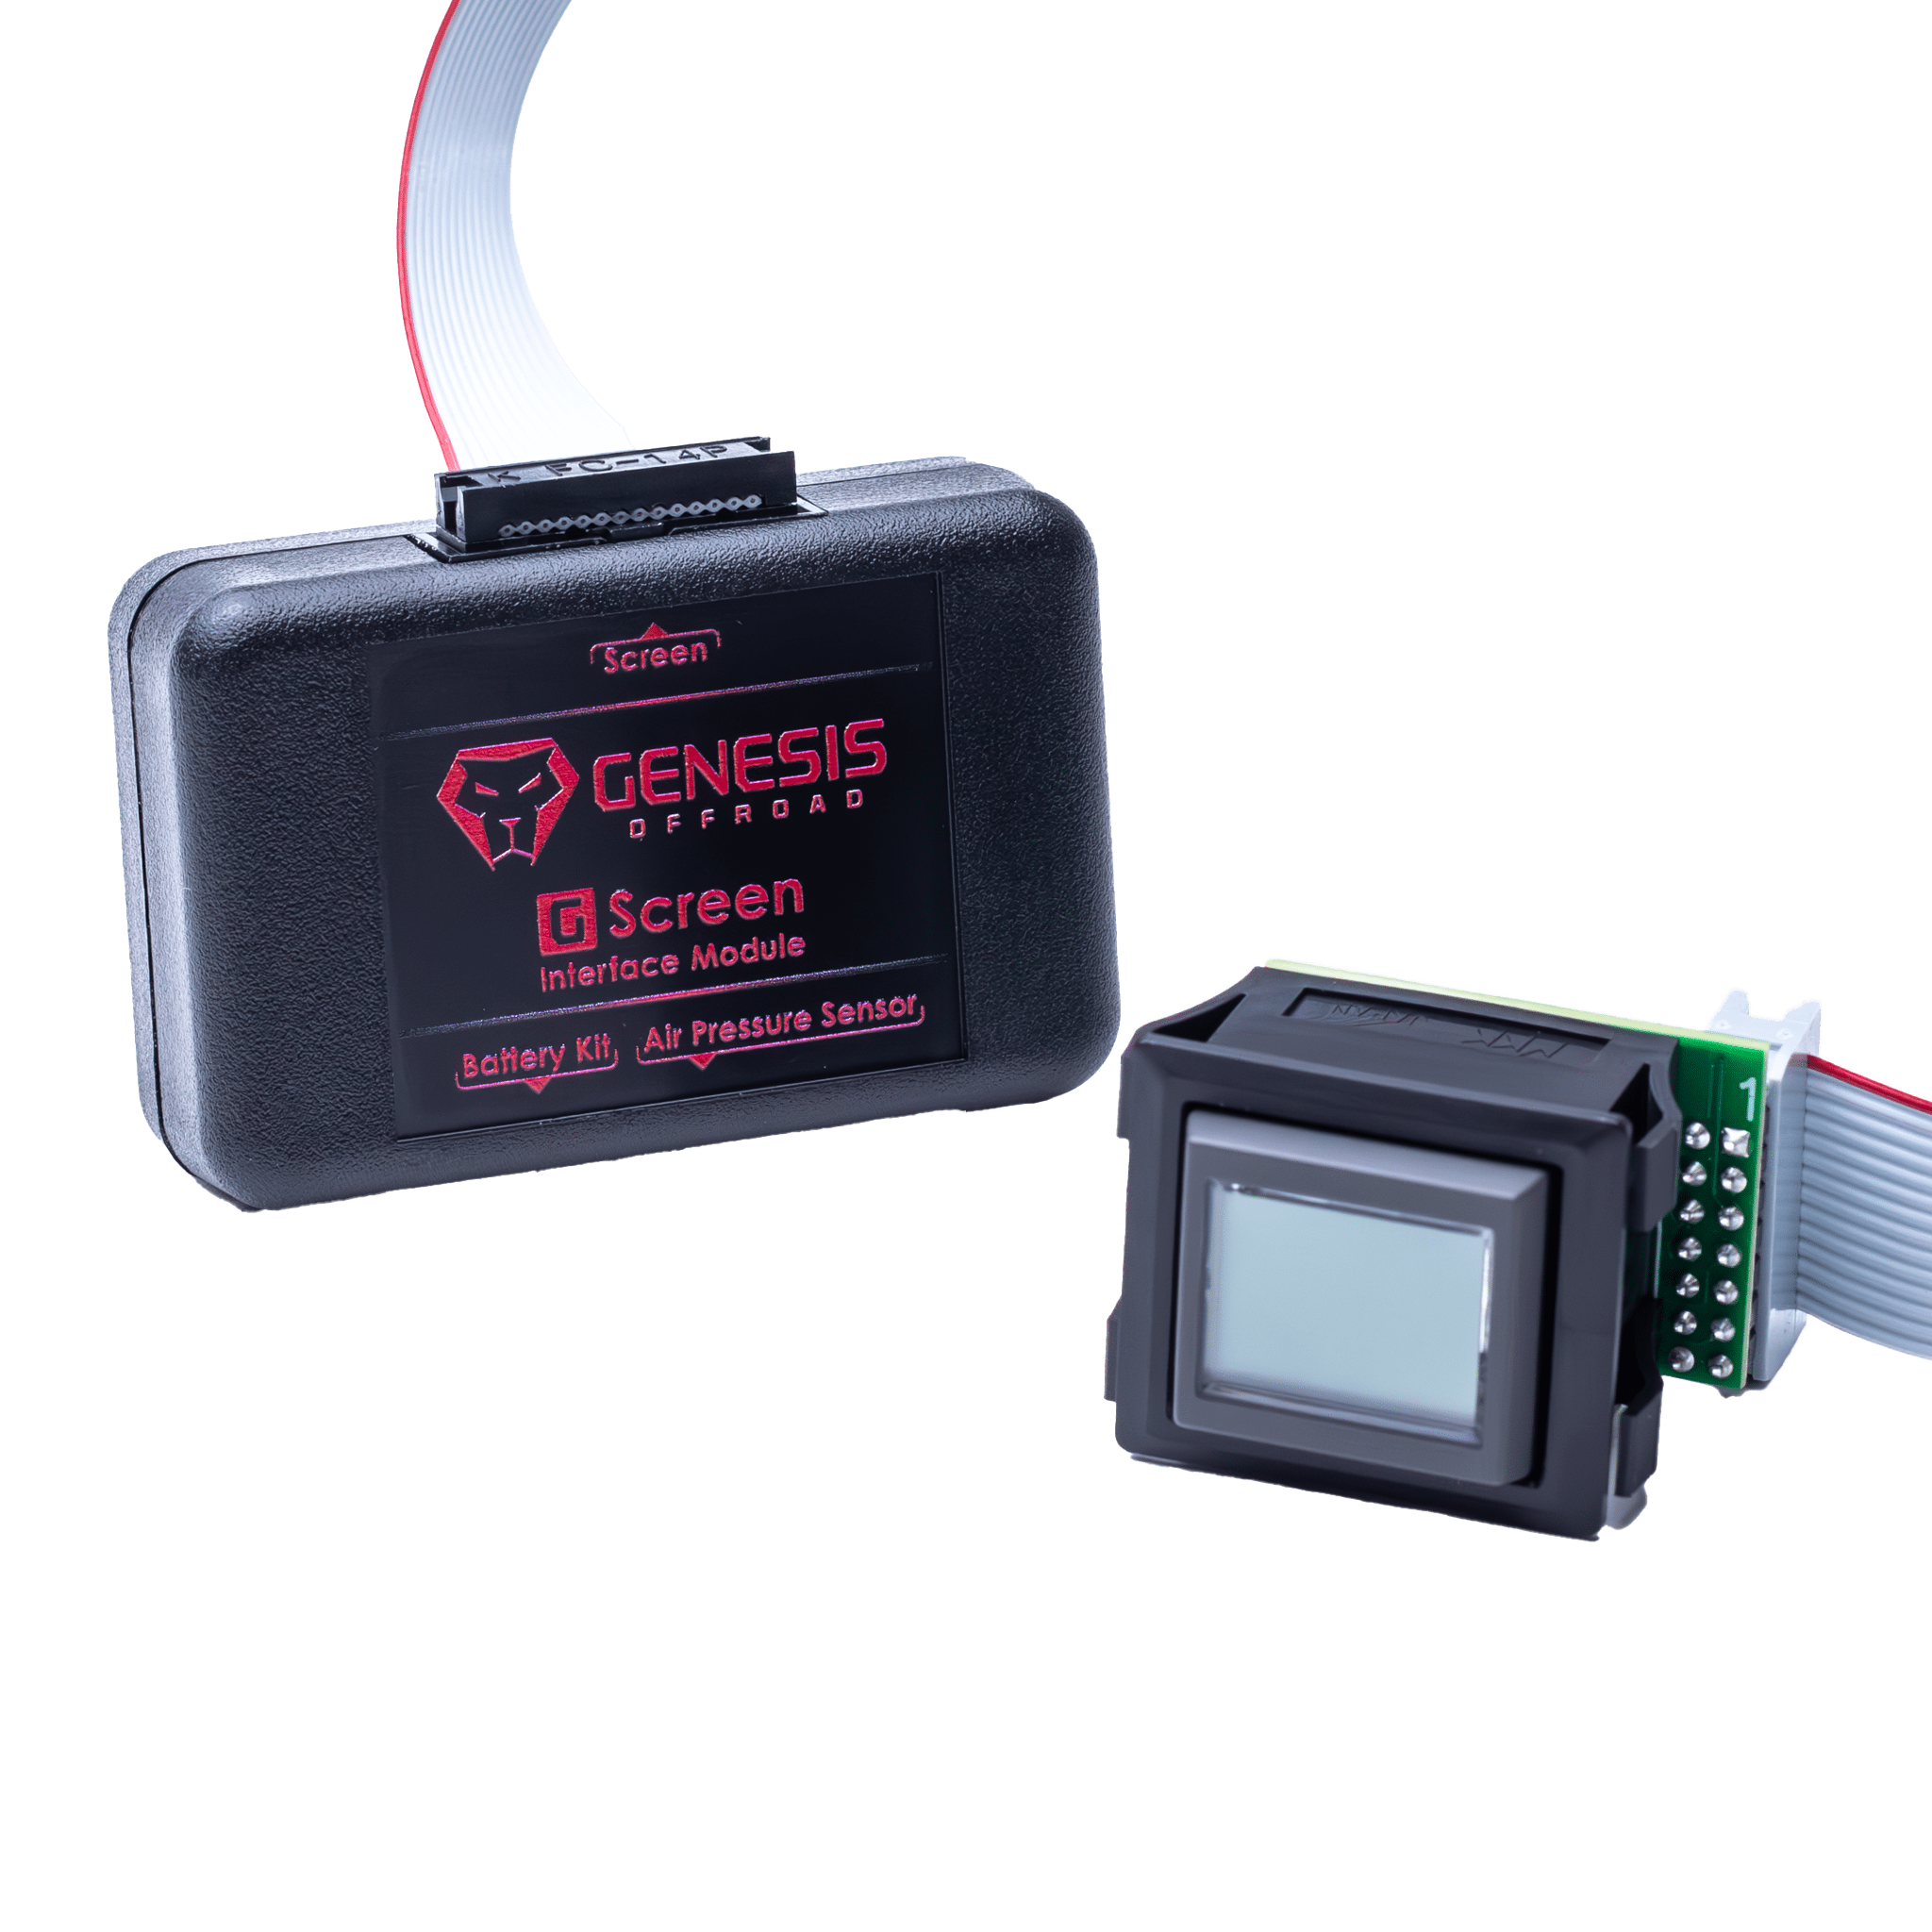
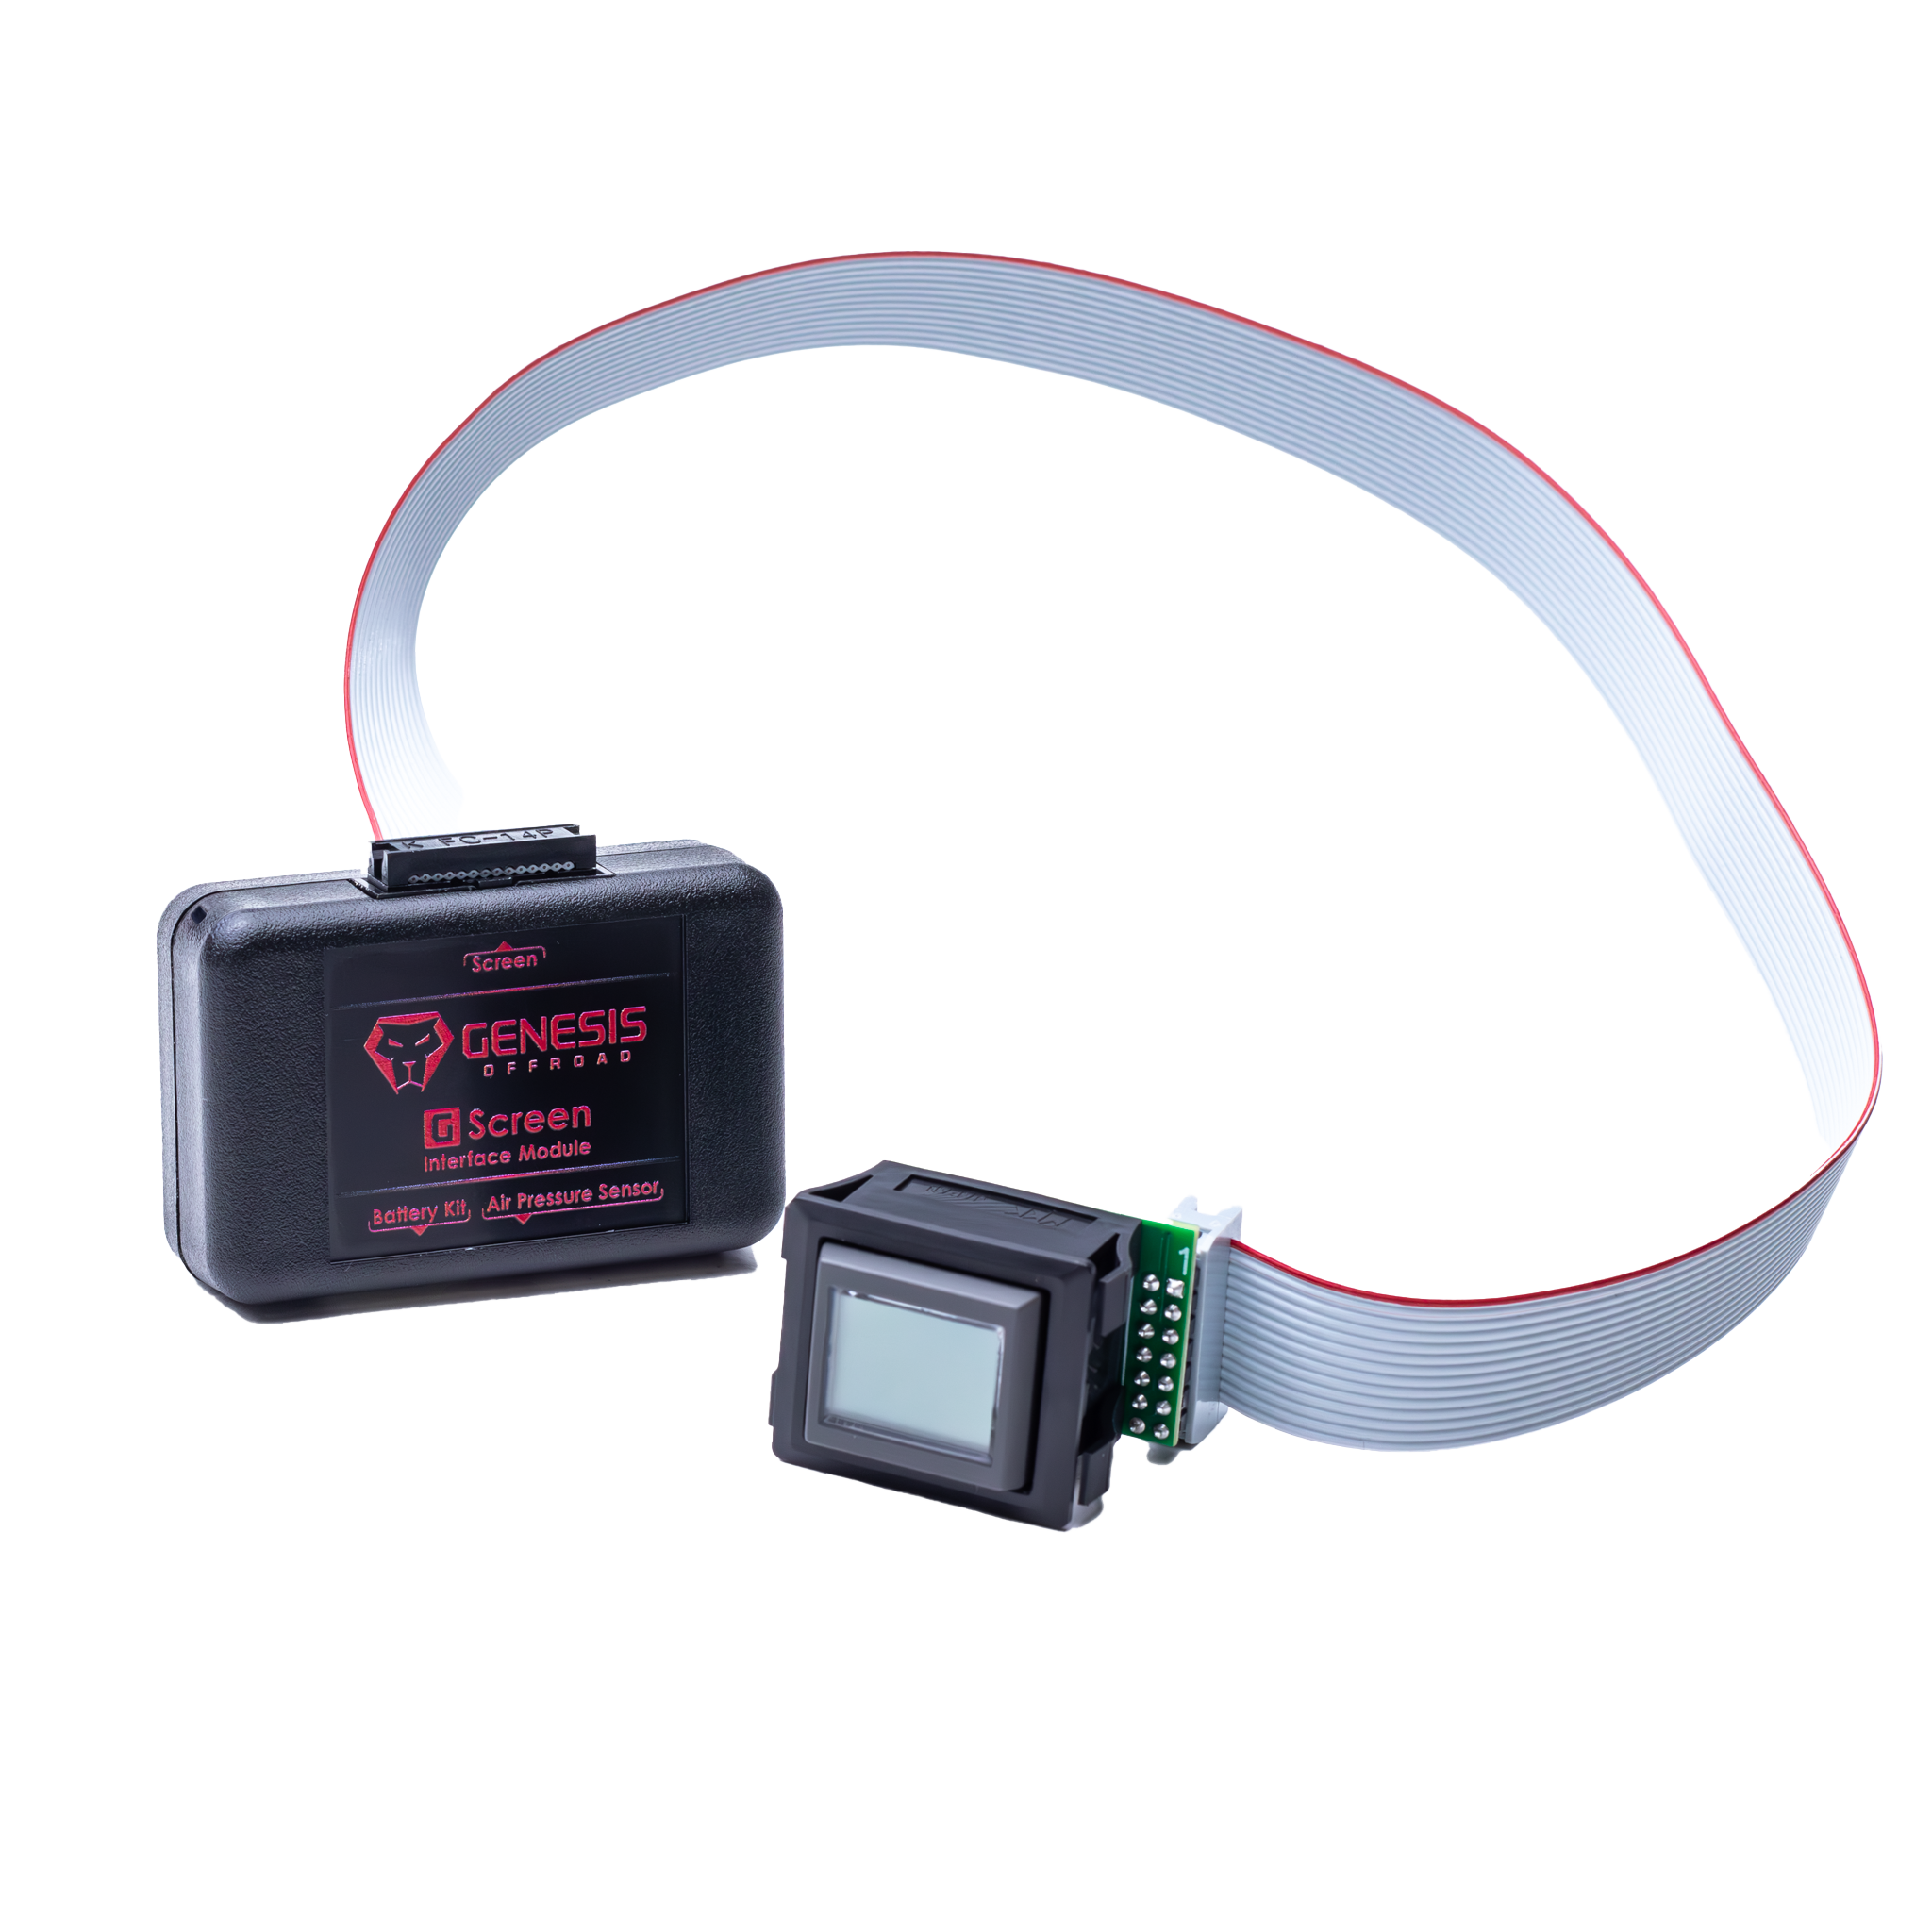
Once the G-Screen is in place, plug the long gray cable into the module.
Route the 13' long cable through the firewall and plug it into the Genesis Offroad Power Hub.
Don't have a Gen 3 Dual Battery System?
Learn MoreConnecting the Cables
We use specific connections on the G-Screen so here's a little more info about how to make sure your G-Screen is connected correctly.
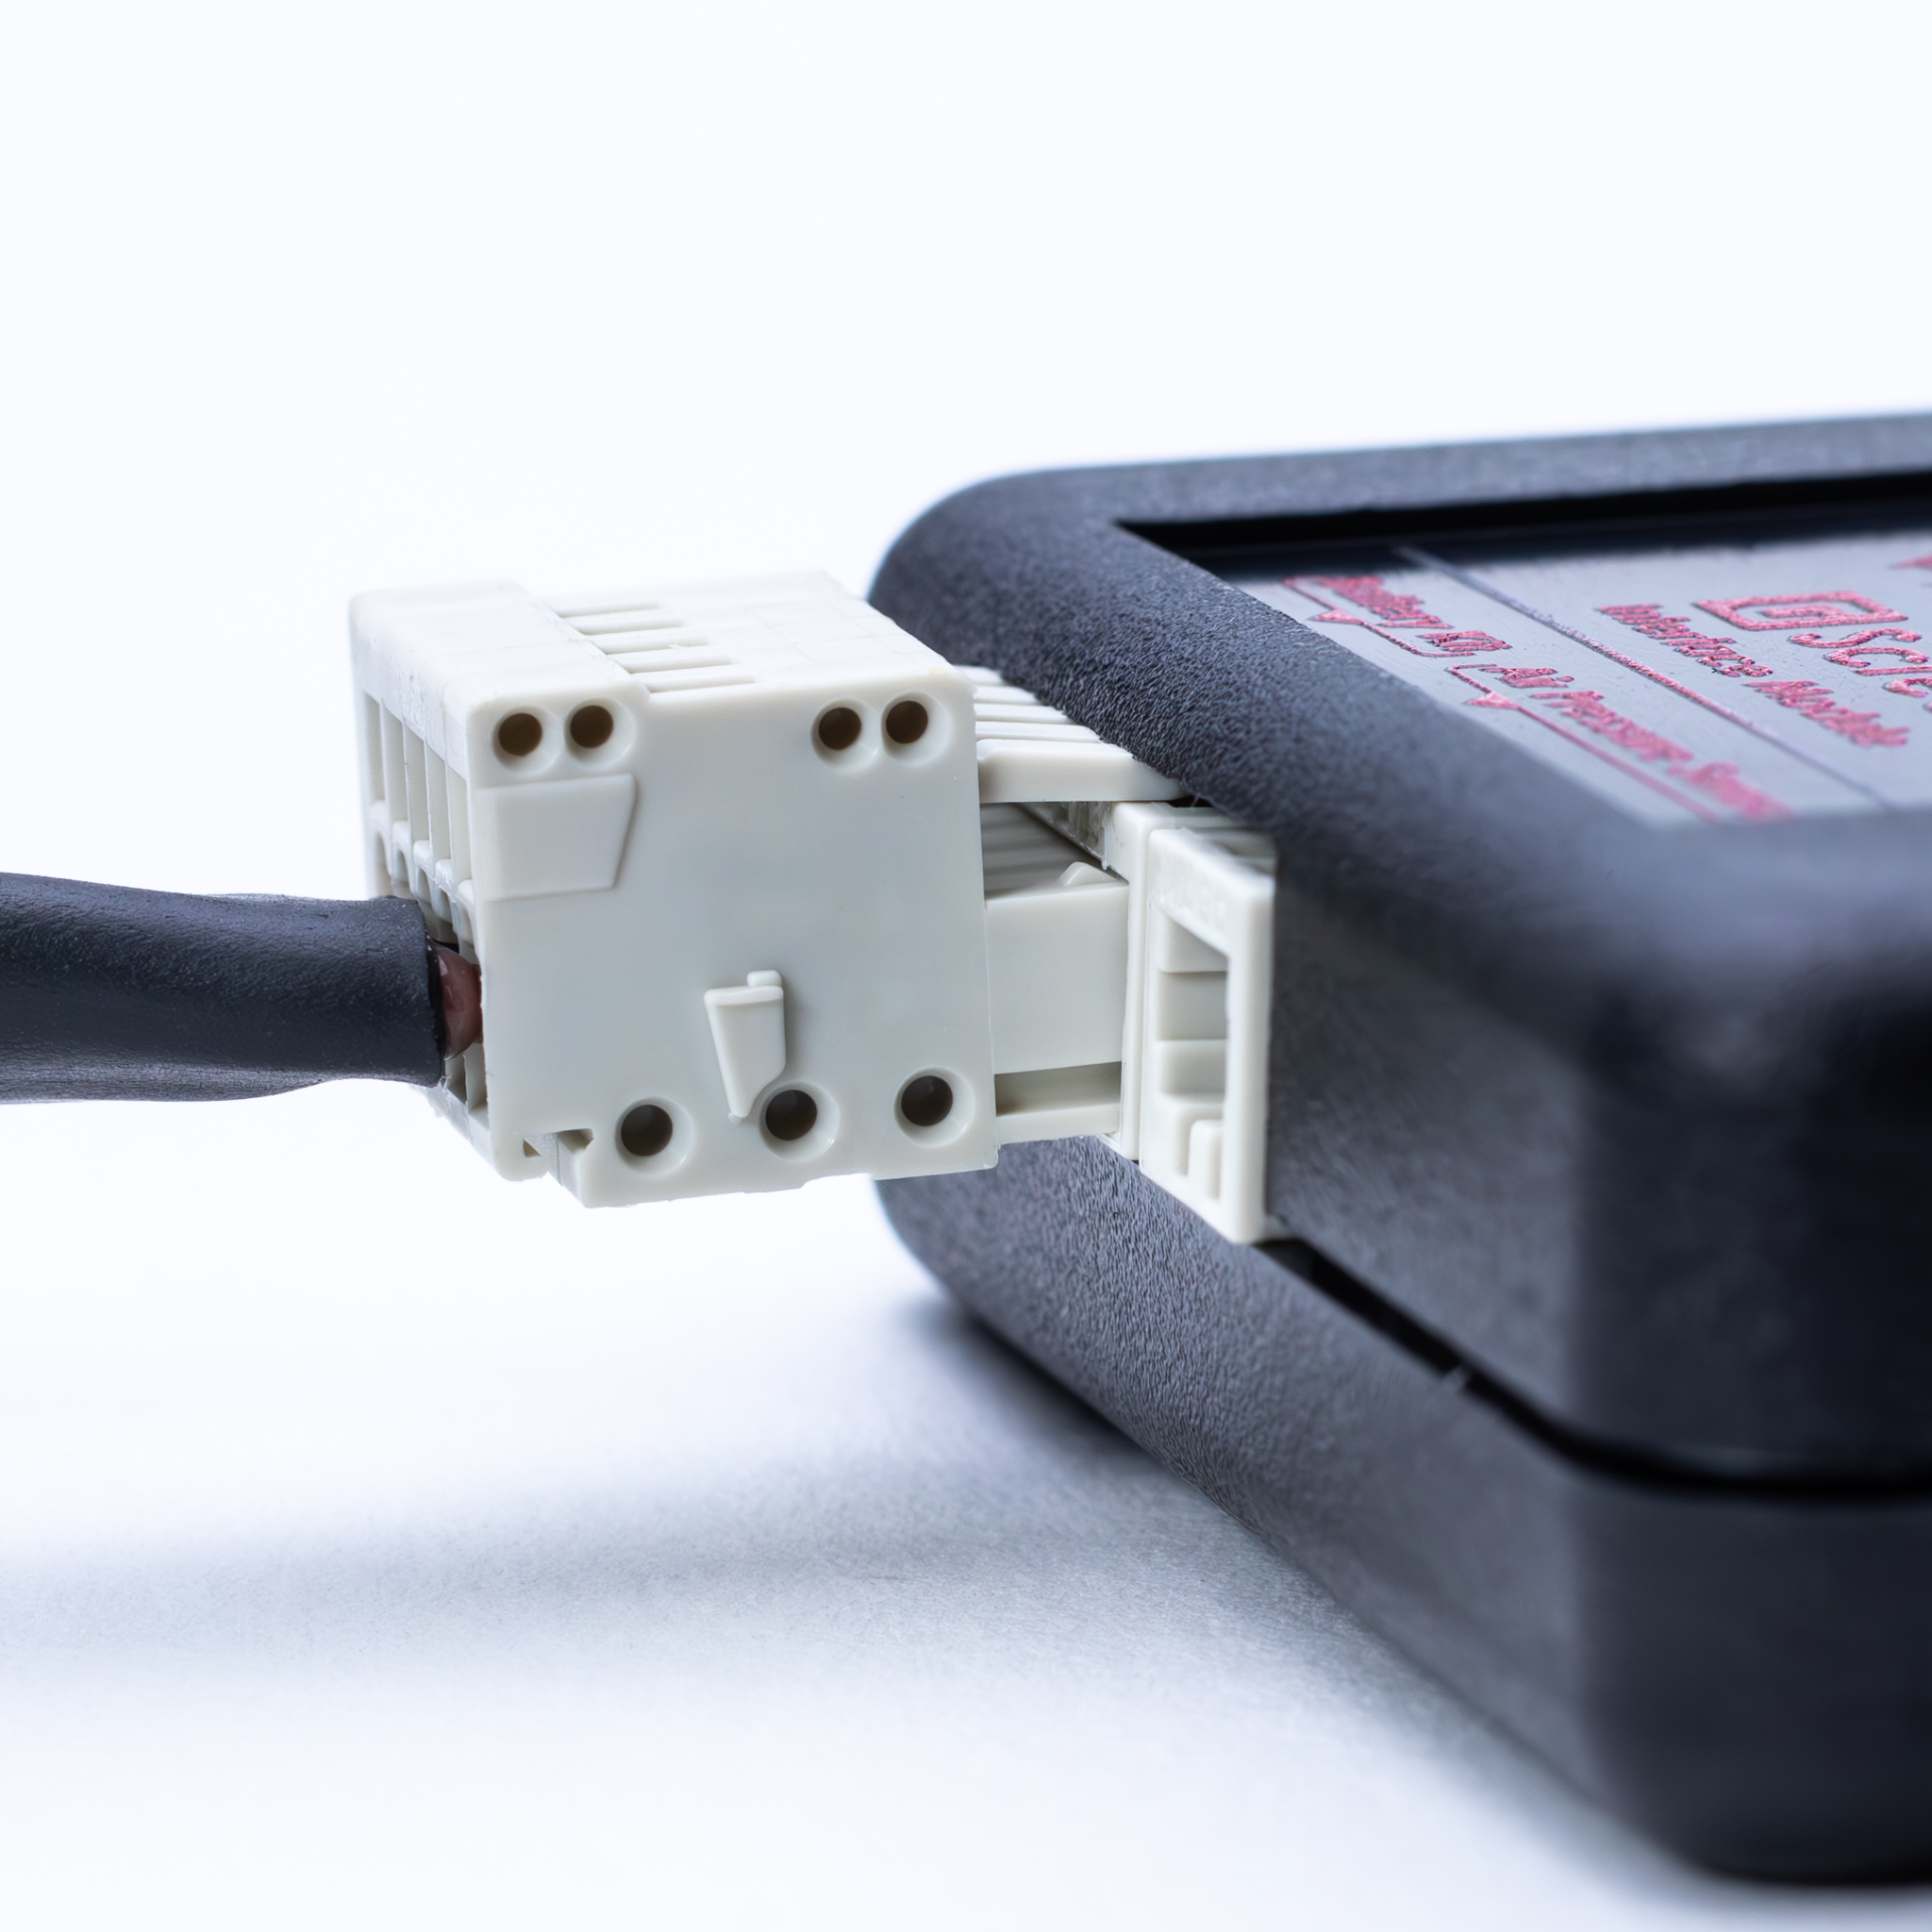
Gray Cable to Module
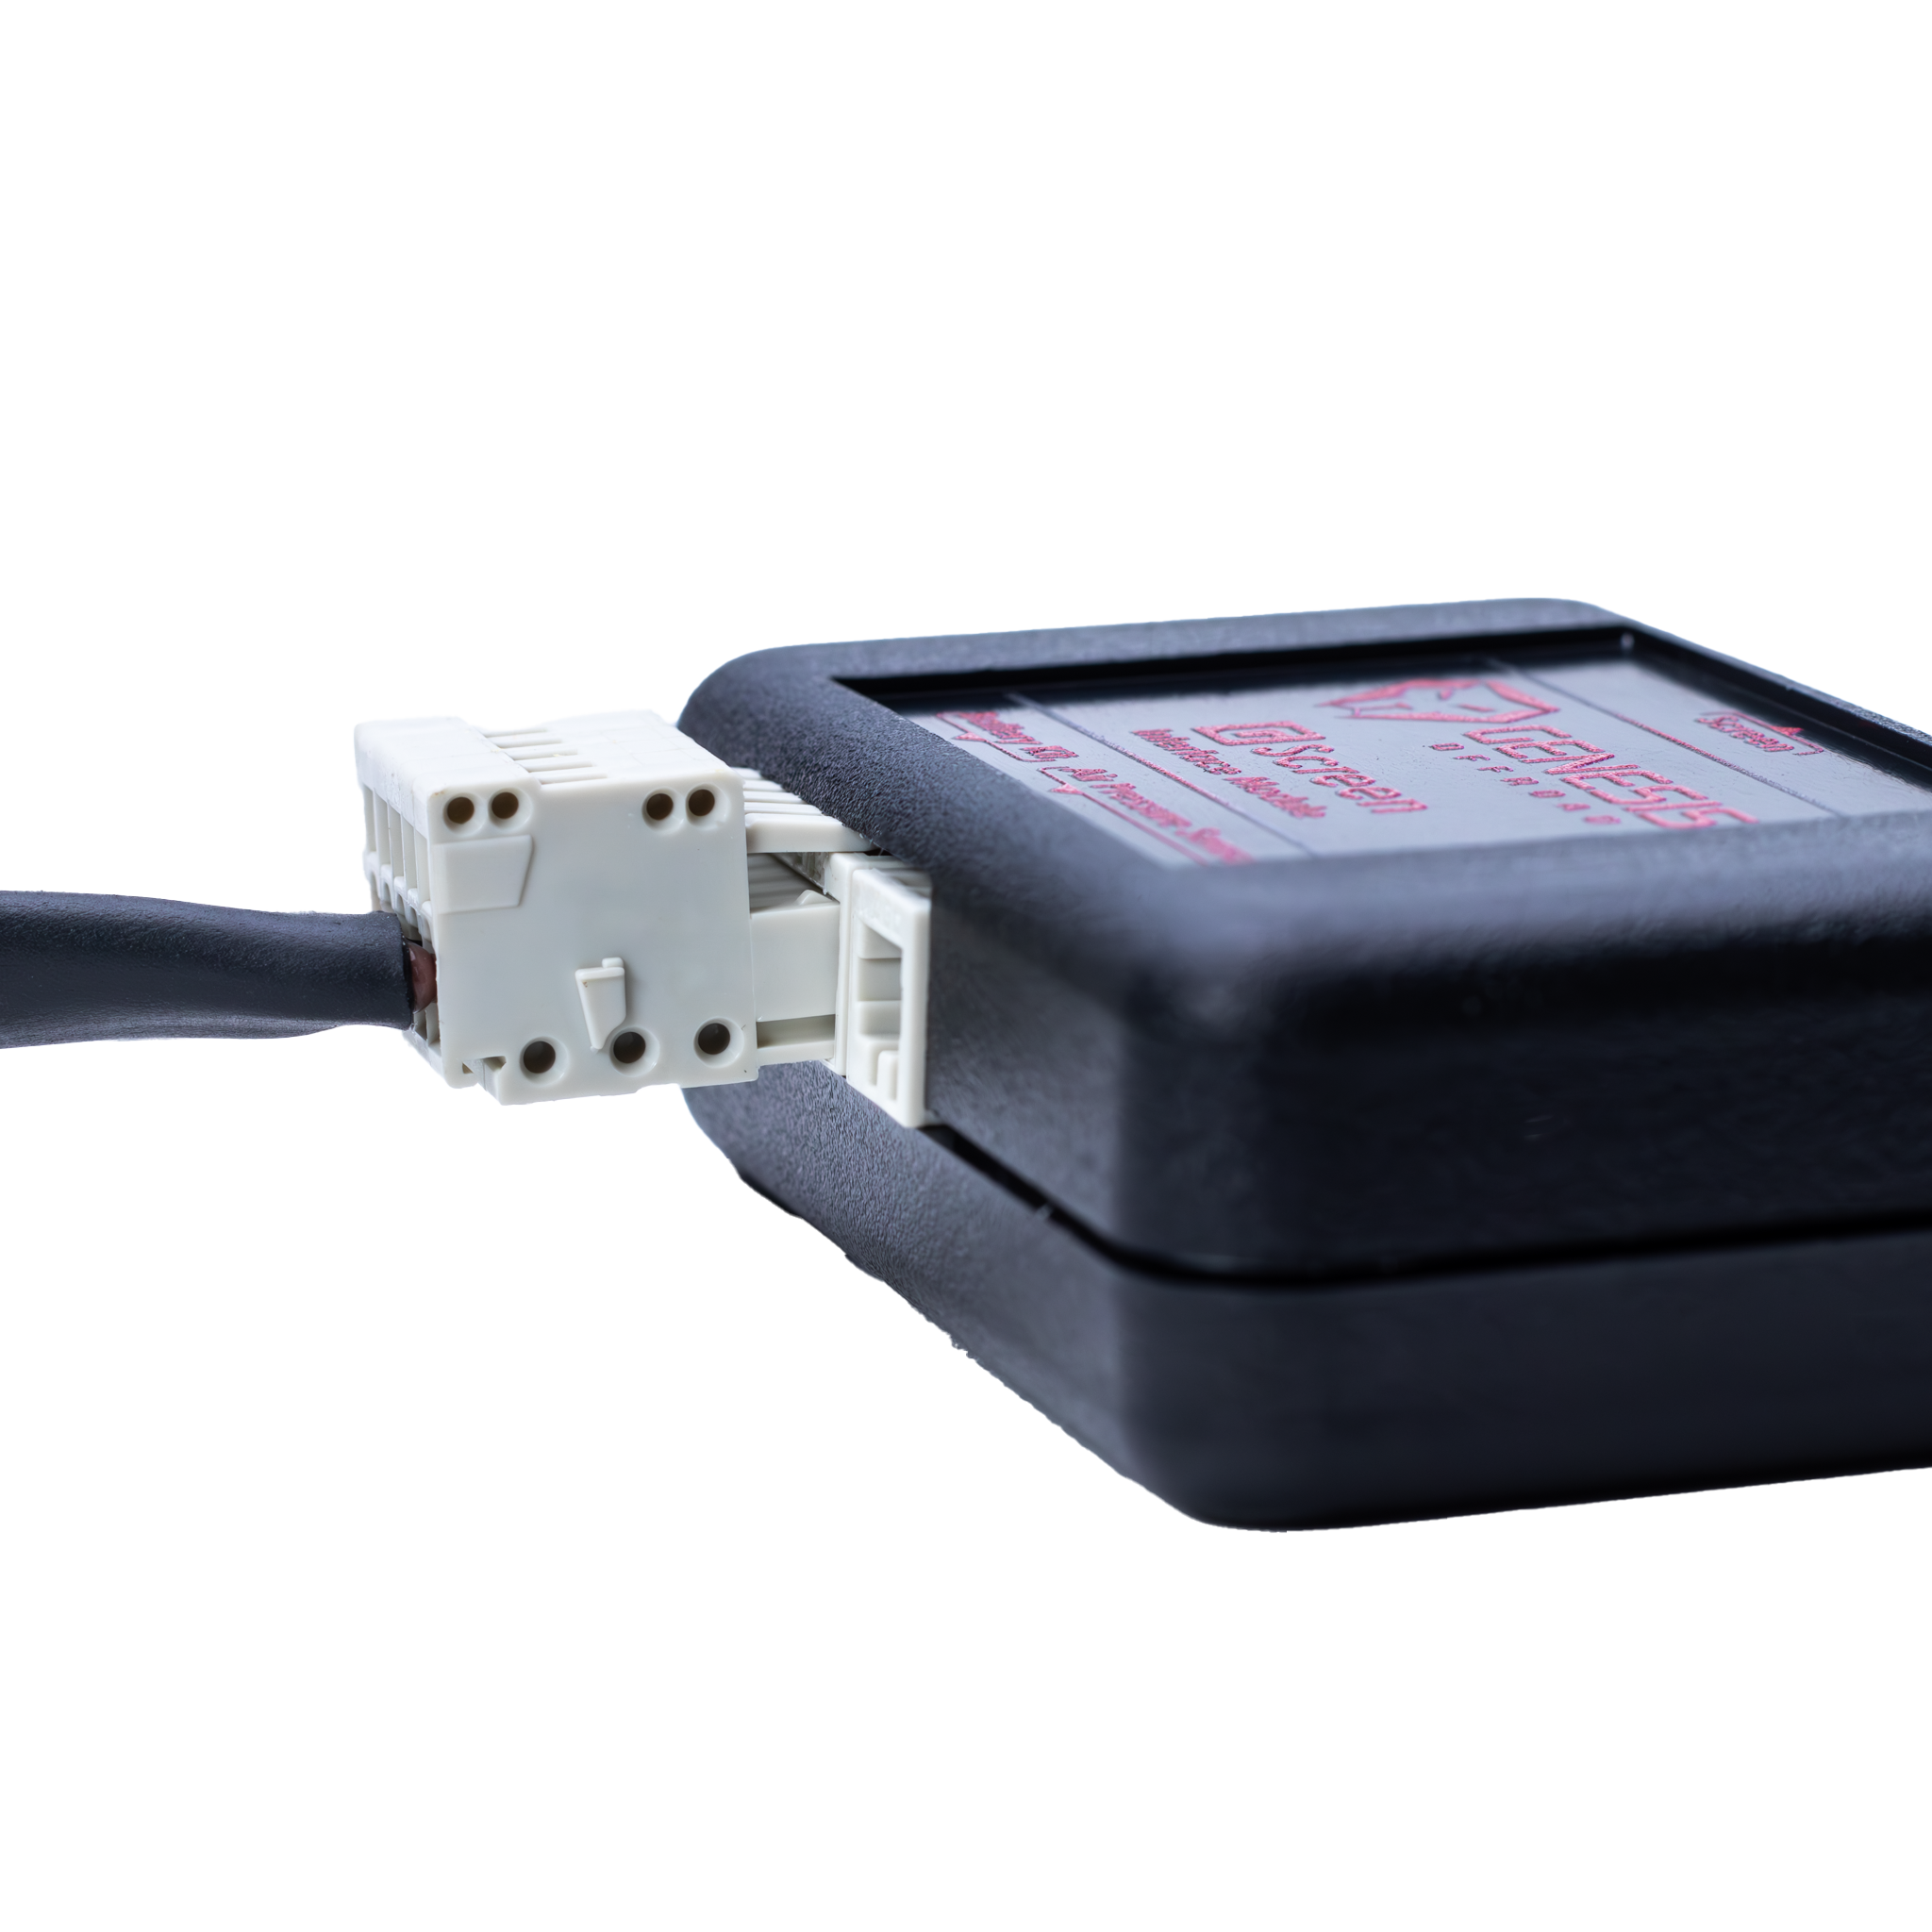
This 13' cable connects the interface module box to the dual battery kit. Note the orientation of the pins.
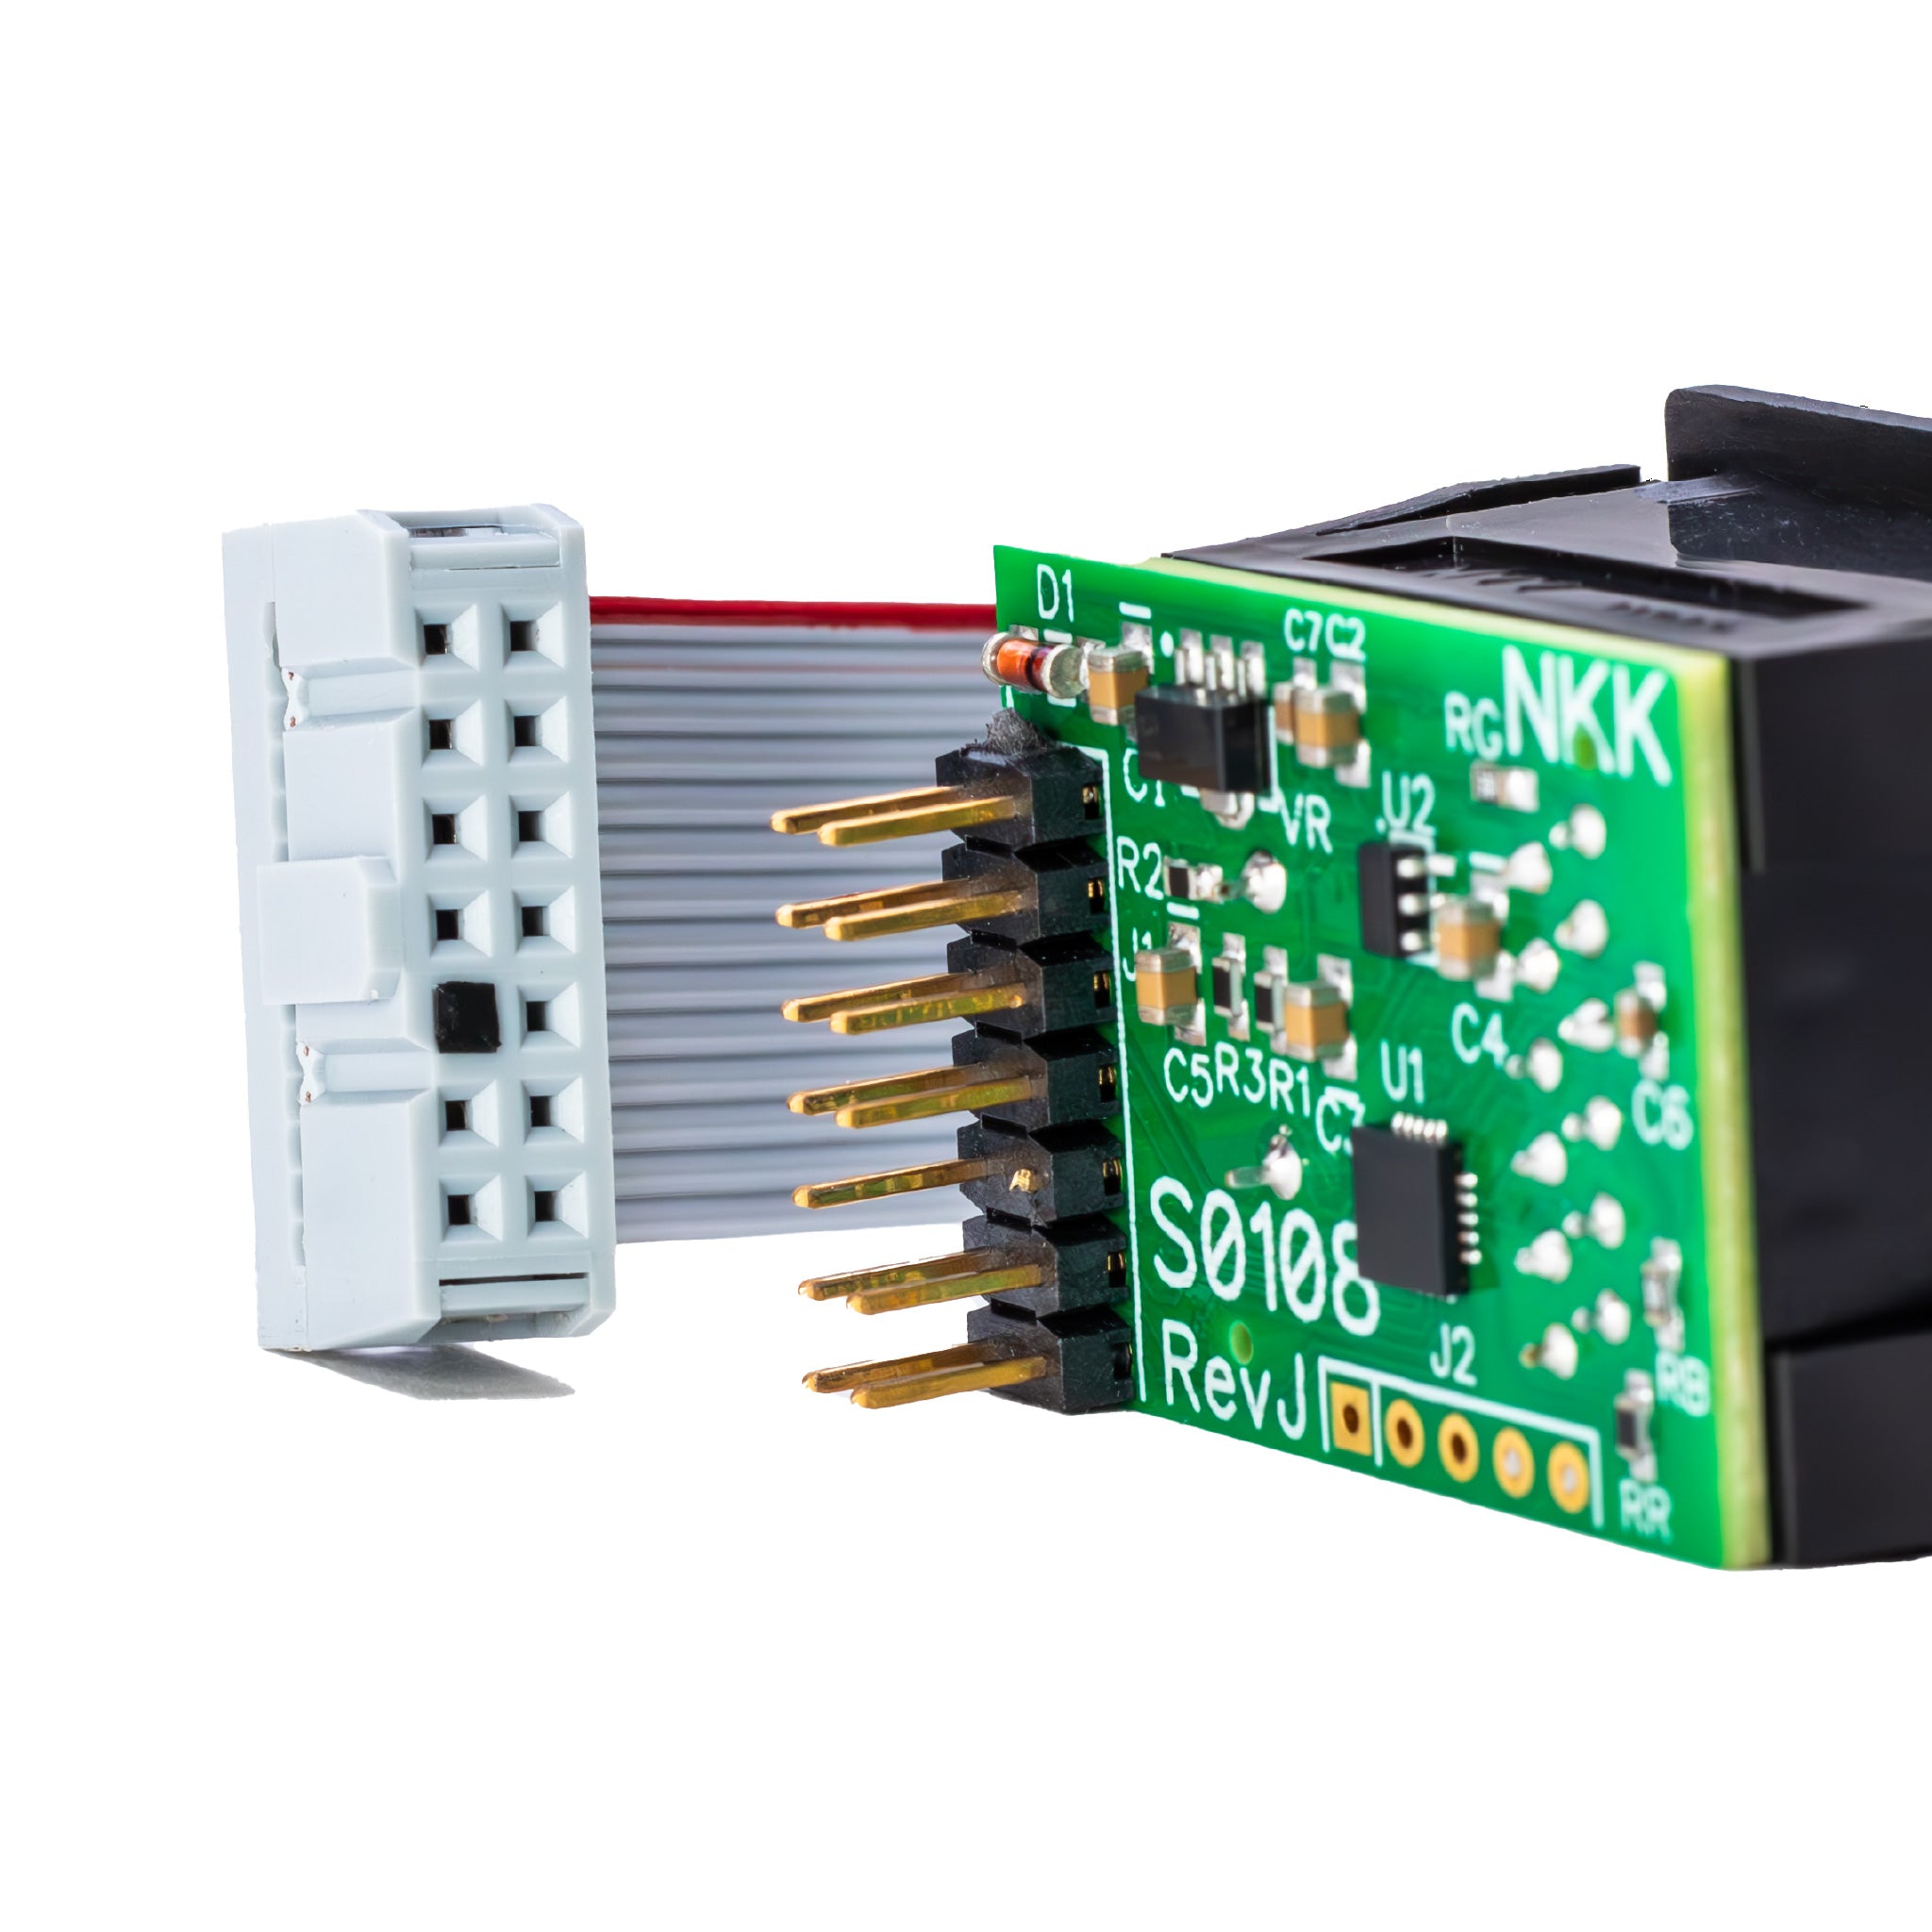
Ribbon Cable to G-Screen
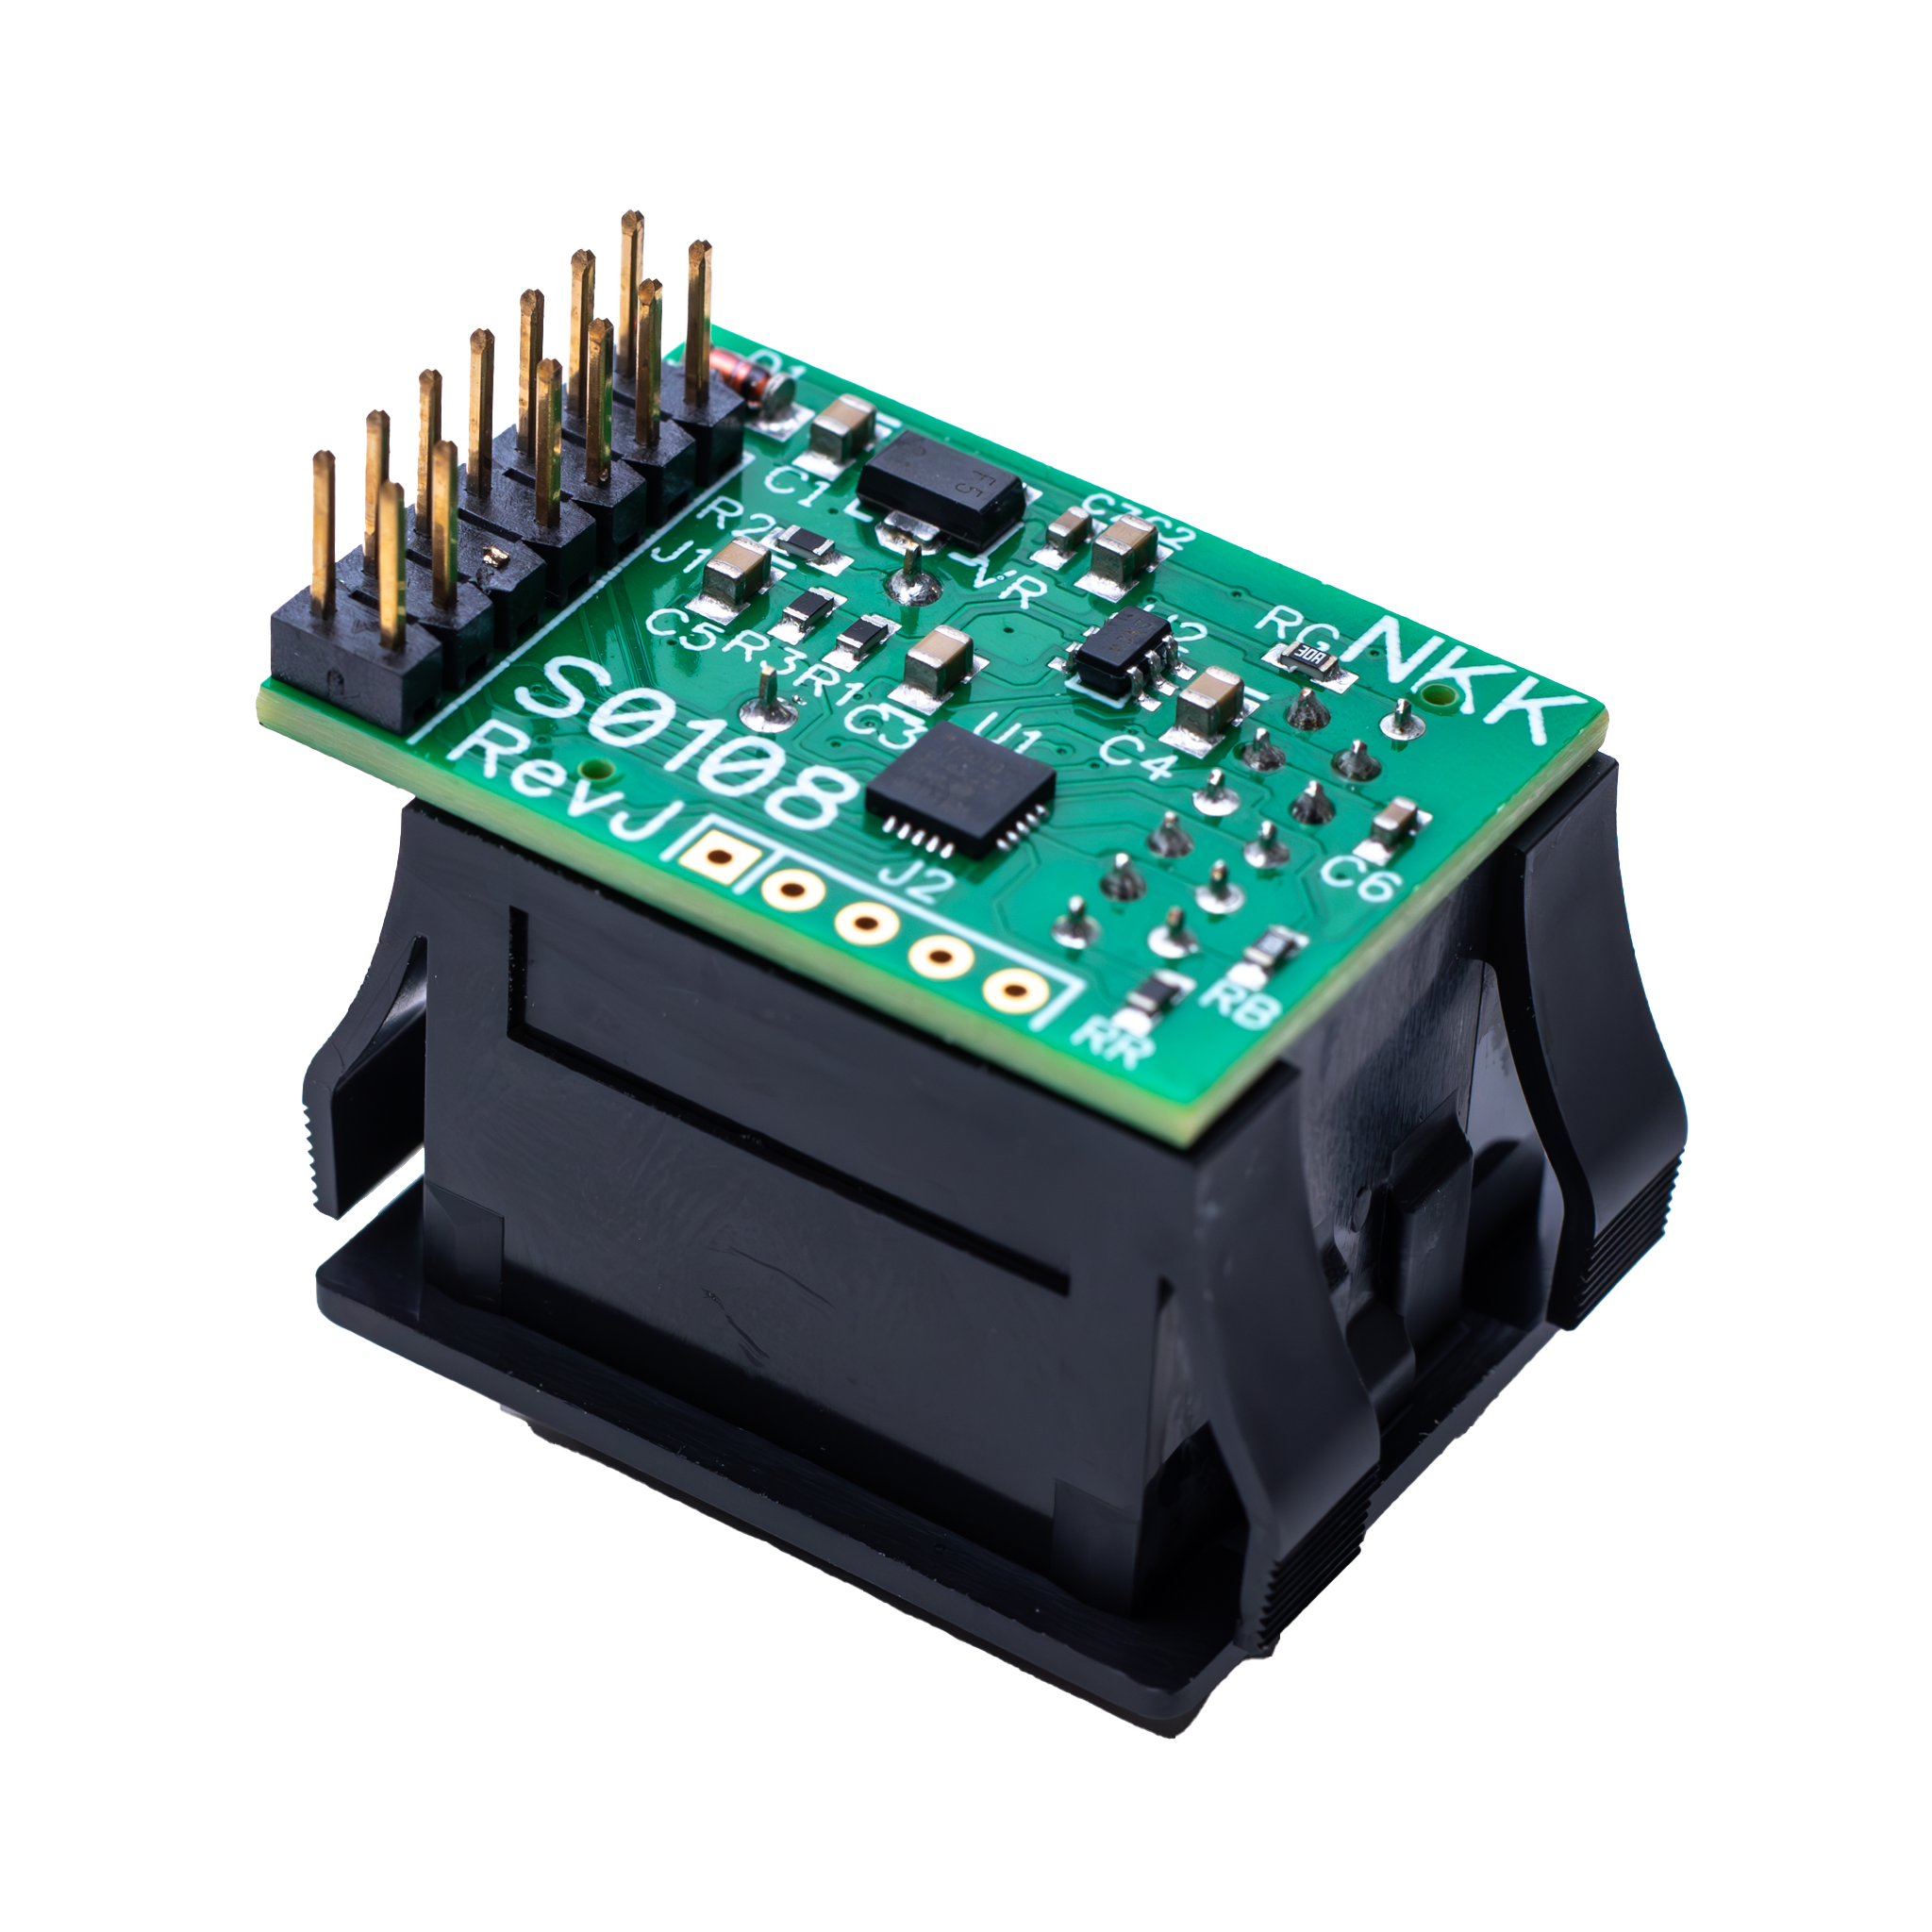
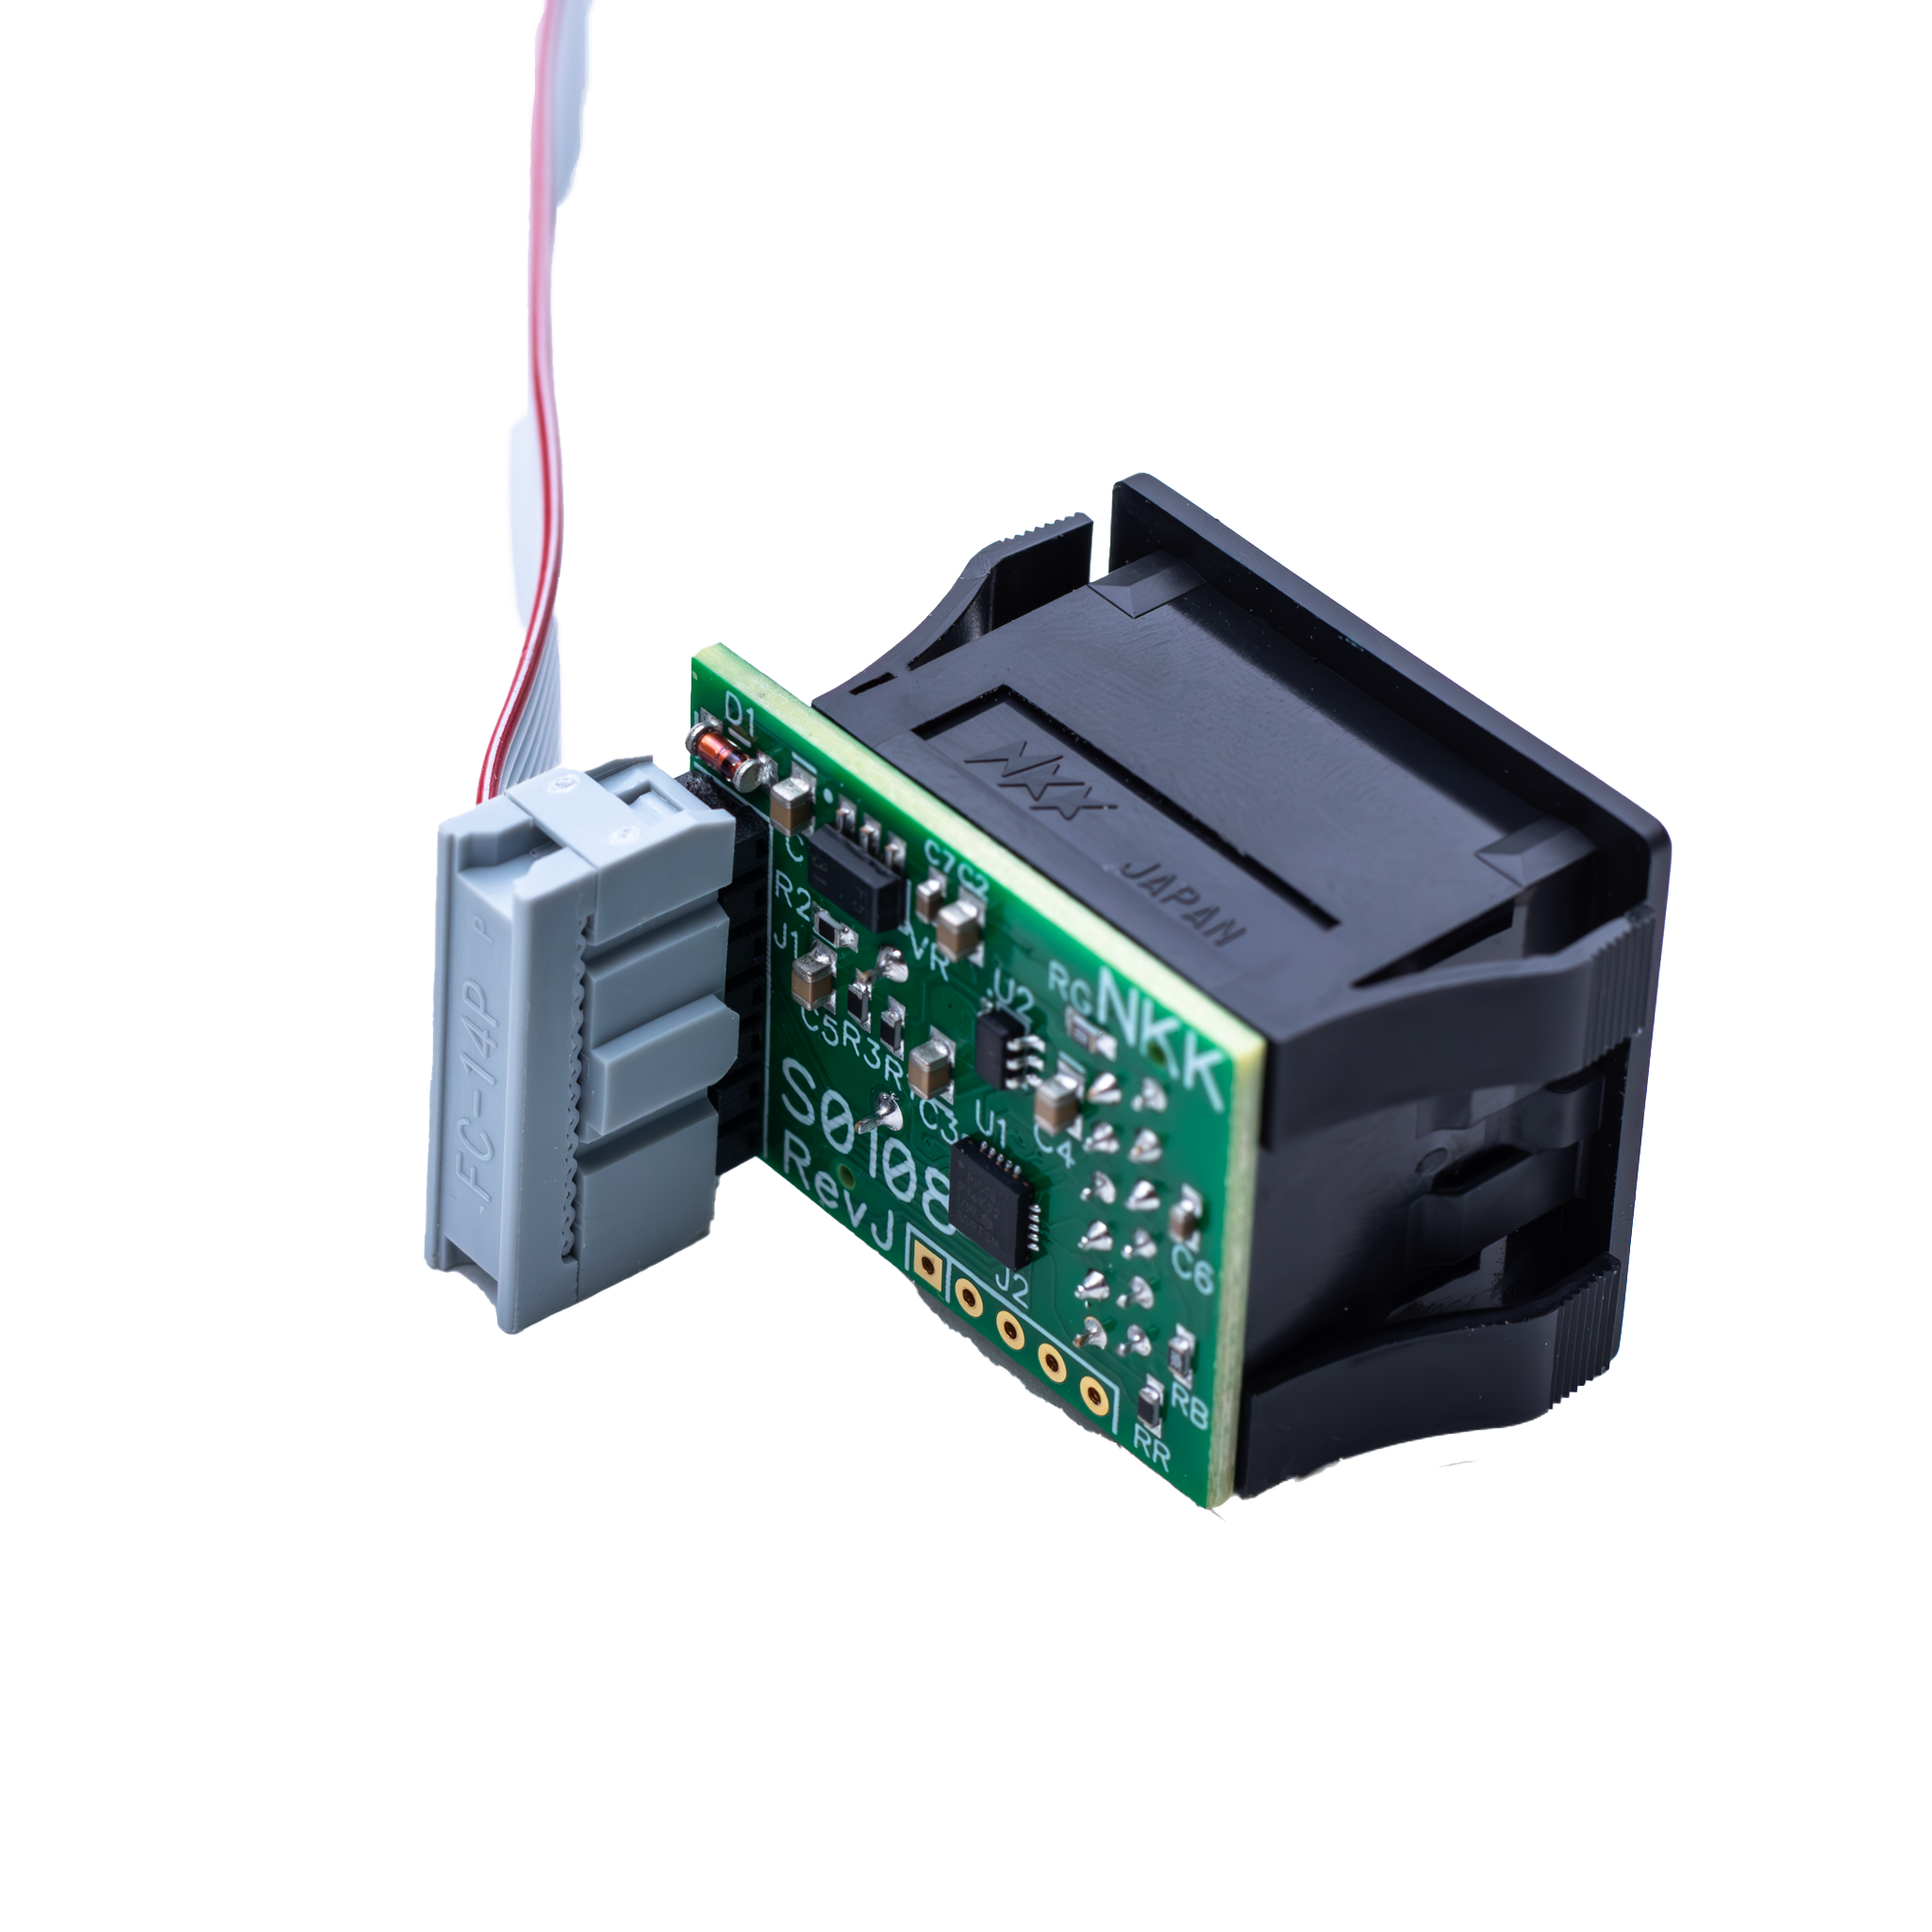
With the red stripe at the top, the blanking pin in the connector will align with the missing pin on the G Screen.
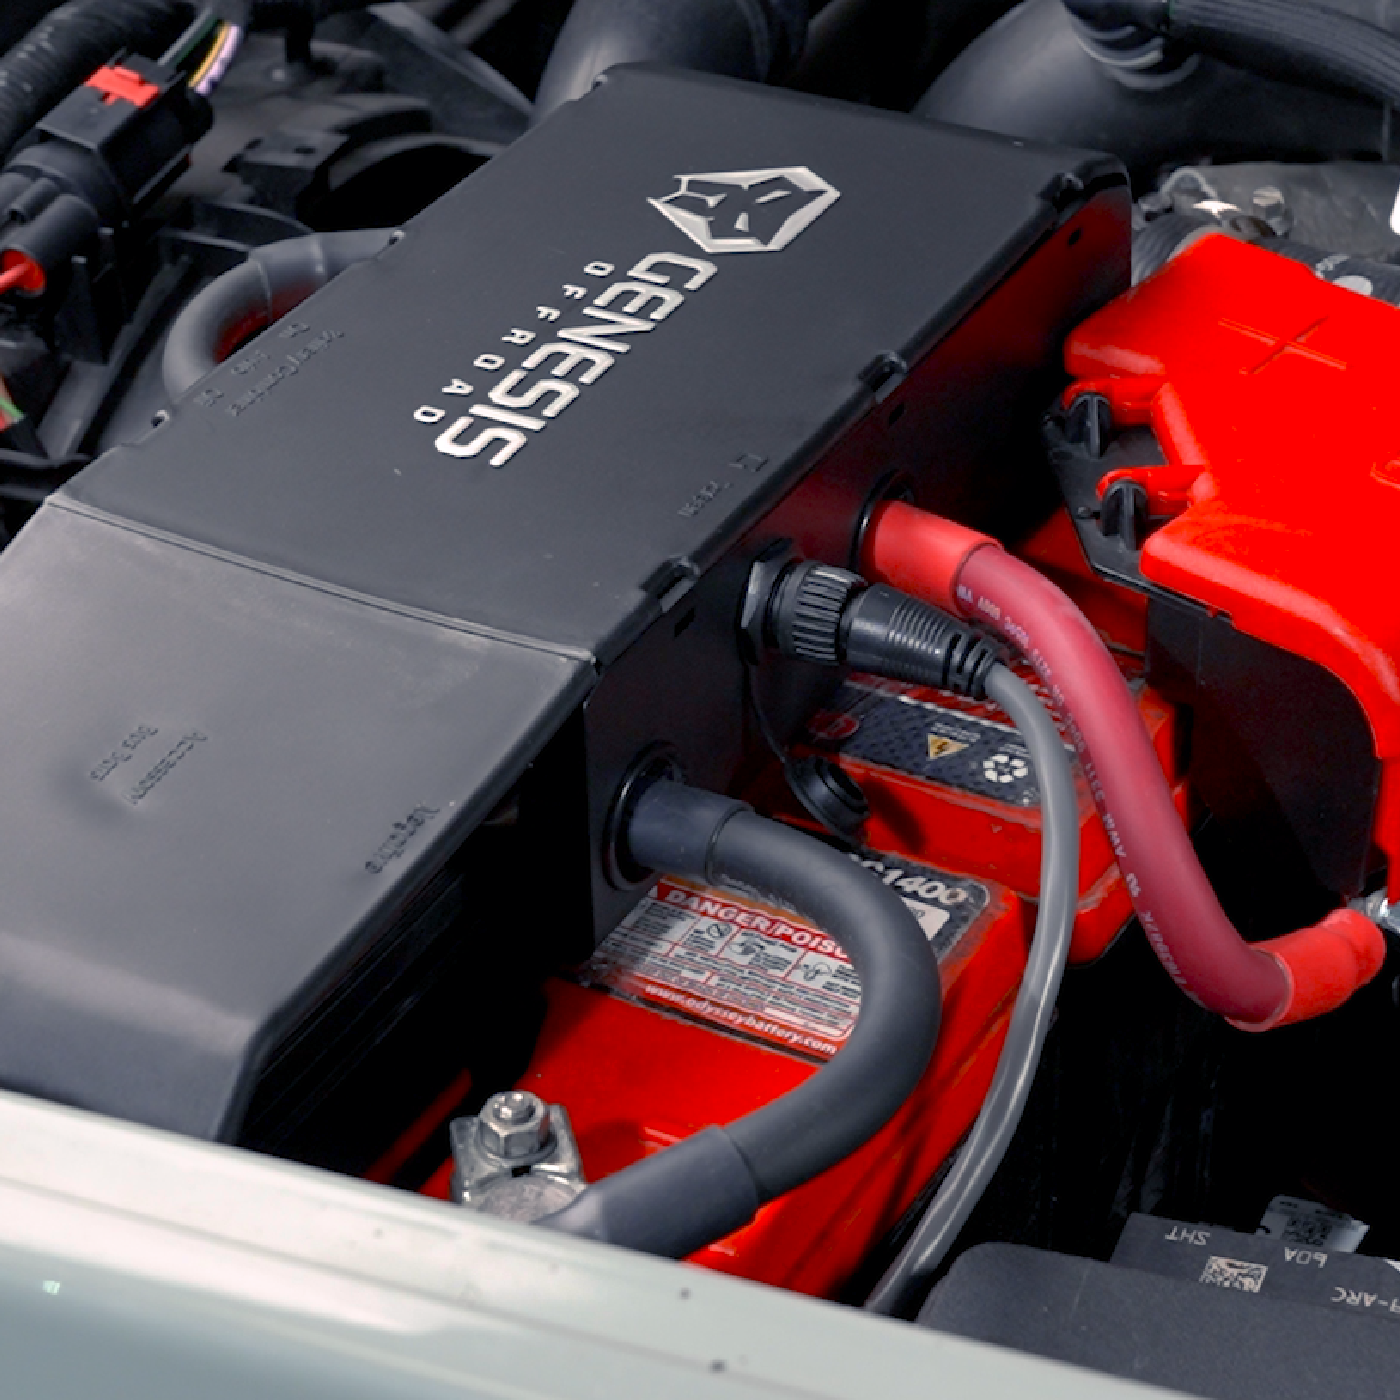
Gray Cable to Power Hub
Insert the round connector, and twist the coller 90 degrees to lock it securely in place.
Digital Air Pressure Sensor
An optional add-on for your G-Screen that will monitor your on-board air tank or manifold pressure.
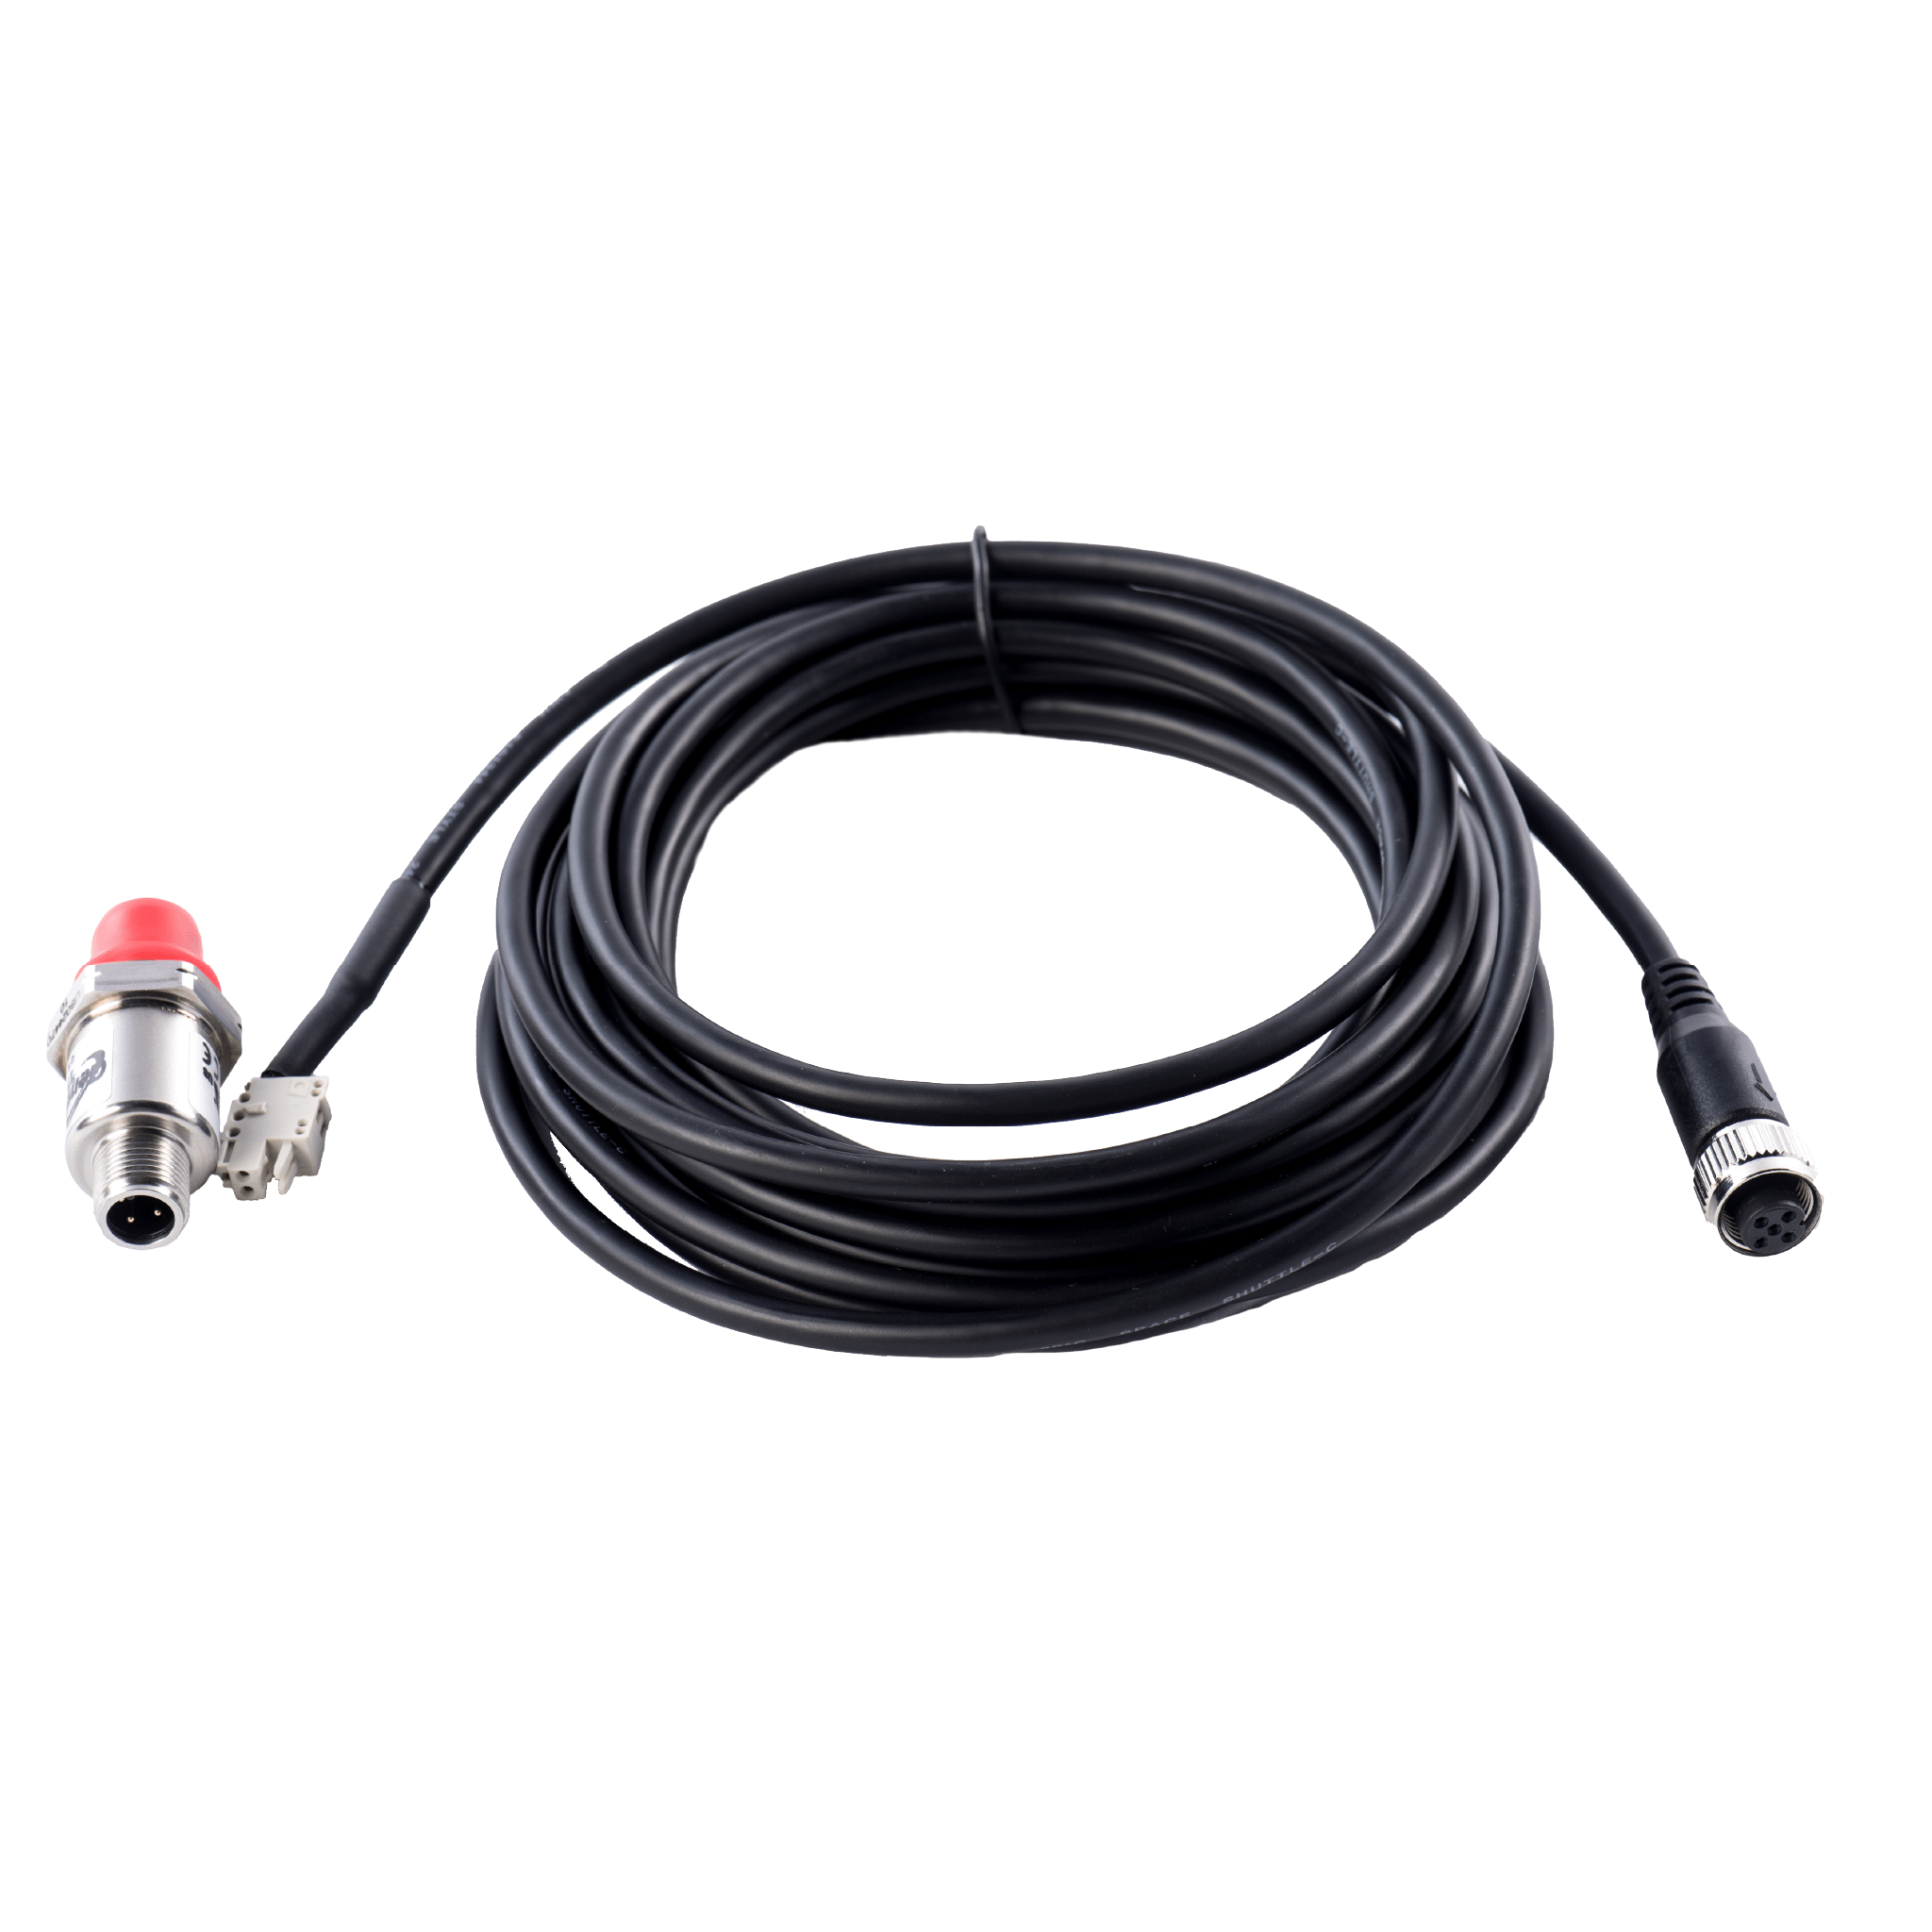
Have a Genesis Offroad G-screen and an air compressor? This digital air pressure sensor allows you to keep an eye on your on-board air status.
No need to run air hoses through the vehicle to an old analog pneumatic gauge, and no complicated wiring to figure out. One cable to connect and you're done.
NOTE: Not rated for reading pressure inside a CO2 systems such as a Powertank, but it can be used after the pressure regulator to help keep an eye on your pressure settings.
Contact Us


